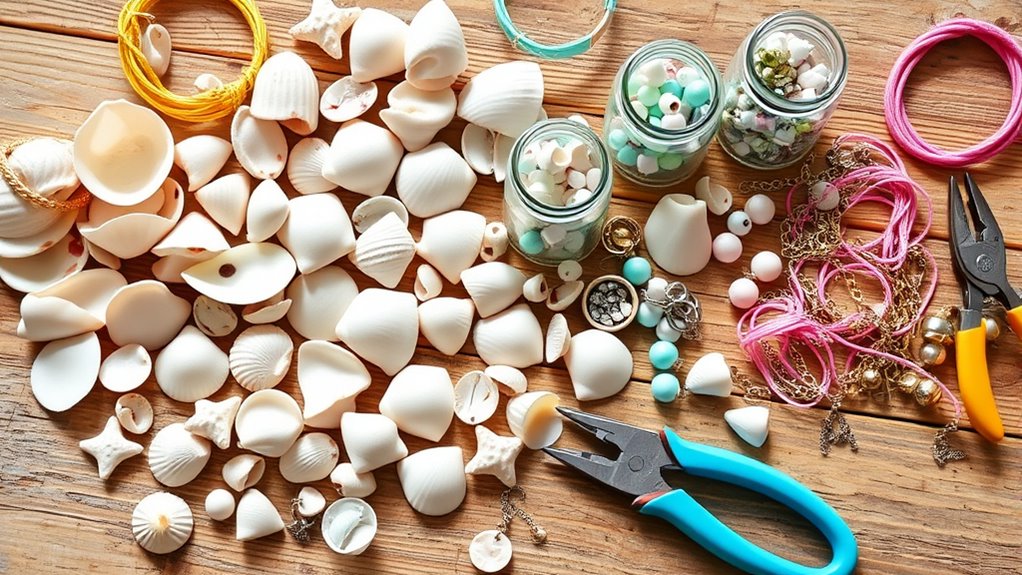

A DIY seashell jewelry kit should include essential tools like jewelry pliers, wire cutters, and adhesive applicators to help you craft with precision. You’ll also need a variety of colorful shells, beads, and charms for customization. Finishing supplies such as clasps, jump rings, and strong glue guarantee your jewelry stays secure. Proper storage solutions keep everything organized and protected. Keep exploring to discover even more tips for creating stunning seaside-inspired pieces.
Key Takeaways
- Include a variety of sustainably sourced shells in different shapes and sizes for versatile designs.
- Provide essential jewelry-making tools such as pliers, wire cutters, tweezers, and scissors for precise assembly.
- Add quality adhesives like jewelry glue or epoxy suitable for secure shell and charm attachment.
- Incorporate beads, charms, and findings (clasps, jump rings, earring hooks) for customization and finishing touches.
- Offer organized storage solutions like containers or zip-top bags to keep supplies protected and easily accessible.
Essential Tools and Supplies for Seashell Jewelry Making
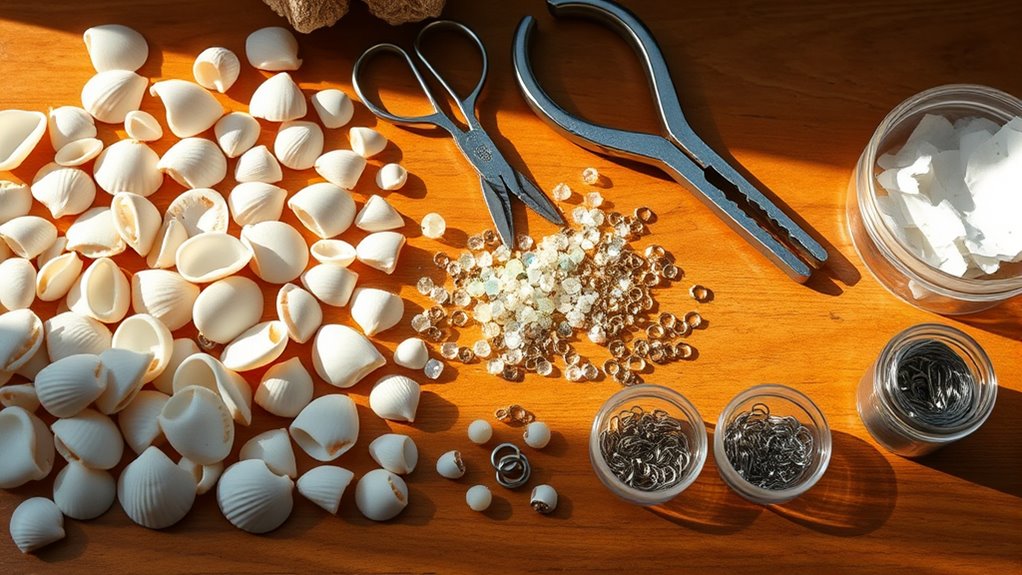
To create beautiful seashell jewelry, you need the right tools and supplies. Start with a pair of jewelry pliers—round-nose, chain-nose, and wire cutters—to handle delicate shells and assemble your designs. You’ll also want a fine-tipped glue applicator for secure attachment of shells, beads, and charms. A small hammer and metal punch can help create holes in shells without cracking them. Keep a selection of jewelry wire, elastic cords, and jump rings handy for stringing and connecting pieces. It’s essential to have a clean workspace with tweezers and scissors for precise handling and cutting. Having these basic tools guarantees you can work efficiently and safely, making the process smoother and more enjoyable as you craft your seashell jewelry. Utilizing content clustering strategies can help organize your supplies and design ideas, streamlining your jewelry-making process and boosting your creativity. Additionally, understanding environmental considerations can help you select eco-friendly materials and practice sustainable crafting techniques. Being aware of headphone compatibility can also be useful if you plan to listen to music or tutorials while working on your jewelry projects. Incorporating appropriate storage solutions can also help keep your supplies organized and easily accessible.
Key Materials: Seashells, Beads, and Charms
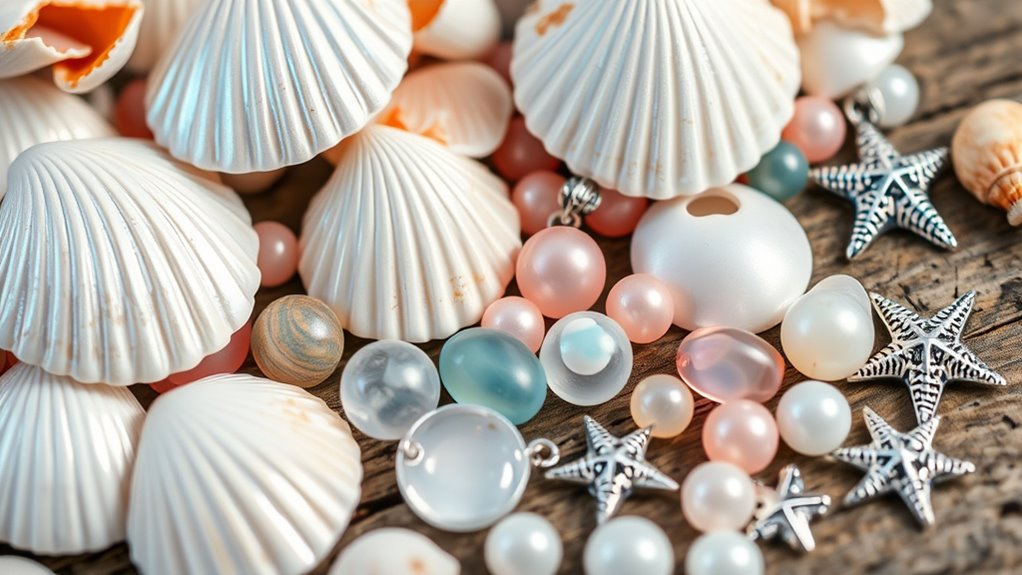
Selecting the right materials is the foundation of creating stunning seashell jewelry. You want shells that are durable, visually appealing, and varied in size and shape. Beads add color and texture, while charms give your pieces a personalized touch. To help you choose, here’s a quick guide:
| Material Type | Key Features |
|---|---|
| Seashells | Unique shapes, natural beauty, needs cleaning |
| Beads | Variety of colors, sizes, materials (glass, plastic) |
| Charms | Personal symbols, small metal or enamel accents |
| Additional | Consider weight, compatibility with adhesives |
Mixing these elements thoughtfully results in eye-catching jewelry that reflects your style. Remember to select quality materials to ensure your jewelry is both beautiful and durable. Using proper cleaning techniques will help maintain the shells’ natural shine and longevity, which is especially important for preserving their natural beauty. Regular cleaning can also prevent any potential bacterial buildup that might occur during use. Additionally, choosing shells that are properly sourced and cleaned can help avoid environmental impact and ensure a sustainable crafting process.
Finishing Touches: Findings, Adhesives, and Storage Solutions
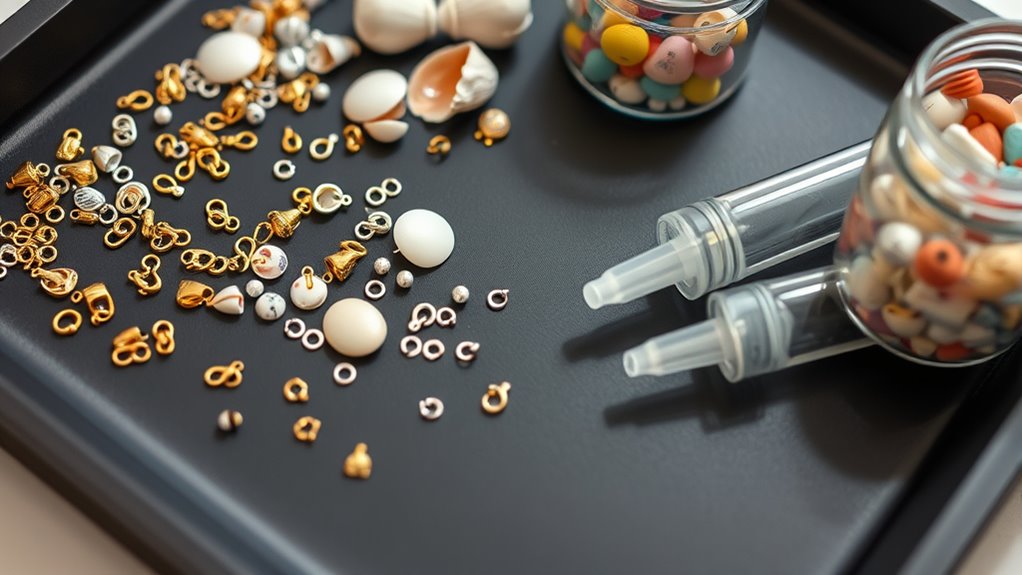
Finishing touches are essential for ensuring your seashell jewelry stays secure and looks polished. You’ll want to include a variety of findings like clasps, jump rings, earring hooks, and crimp beads to assemble your pieces professionally. Use strong adhesives, such as jewelry glue or epoxy, to securely attach shells and charms, especially if you’re creating pendants or layered designs. Proper storage solutions are key to keeping your supplies organized and shells in pristine condition. Small containers, compartmentalized organizers, or zip-top bags work well to prevent damage and loss. Labeling your storage helps you quickly find what you need, saving time during your creative process. Additionally, using appropriate adhesives ensures your jewelry remains durable and prevents shells from falling apart over time. With these finishing touches, your jewelry will look refined and last longer.
Frequently Asked Questions
How Long Does It Typically Take to Complete a Seashell Jewelry Kit?
You might wonder how long it takes to finish a seashell jewelry kit. Usually, it depends on your experience and the complexity of the project. If you’re a beginner, it could take about an hour or two to complete a simple necklace or bracelet. More intricate designs may take longer, especially if you’re meticulous. So, set aside enough time to enjoy the process without feeling rushed.
Are There Age Recommendations or Safety Tips for Children Using These Kits?
Did you know that over 60% of parents worry about safety when kids craft? For children using seashell jewelry kits, age recommendations are vital—most are suitable for ages 6 and up. Always supervise younger kids, especially with small parts or sharp tools. Use non-toxic glue and avoid choking hazards. Following these safety tips helps guarantee a fun, creative experience while keeping everyone safe and happy.
Can I Customize the Kits With My Own Seashells or Charms?
You can definitely customize your DIY seashell jewelry kits with your own seashells or charms. Just make sure your seashells are clean and properly prepared to avoid any damage or mold. Choose charms that match your style and complement the shells. Adding personal touches makes your jewelry unique and special. Feel free to mix and match different shells and charms to create one-of-a-kind pieces that reflect your personality.
What Are the Best Ways to Clean and Maintain Finished Jewelry?
Sure, you’re enthusiastic to keep your jewelry sparkling, but don’t forget that even the most dazzling pieces need a little love. To clean your finished jewelry, gently wipe it with a soft cloth, avoid harsh chemicals, and store it in a dry, cool place. For stubborn dirt, a mild soap and water can work wonders. Remember, a little maintenance keeps your treasures shining bright for years to come.
Do Kits Include Instructions for Different Jewelry Styles and Techniques?
You’ll want to check if the kit provides clear instructions for various jewelry styles and techniques. Many kits include detailed guides or step-by-step tutorials, making it easier for you to experiment with different designs. Some also offer online resources or video tutorials for added support. By ensuring these instructions are included, you can confidently explore multiple jewelry-making methods and create unique, personalized pieces with your seashell kit.
Conclusion
Now that you know what to include, your seashell jewelry kit will be complete. Think of the tools and beads as your palette, ready to create vibrant, personal pieces. The shells bring natural beauty, while the finishing touches add polish. Like a seaside breeze mingling with a splash of color, your kit combines simplicity with creativity. With just a few supplies, you can craft jewelry as unique as a sunset—simple, stunning, and endlessly inspiring.