
To build sand cornhole boards that withstand outdoor conditions, start by gathering high-quality plywood or cedar, along with essential tools like a saw, drill, screws, and sandpaper. Measure and cut your materials ensuring accuracy, then assemble a sturdy frame with 2x4s and attach the smooth surface. Apply weatherproof sealant or waterproof coating evenly, allow it to dry thoroughly, and finish with weather-resistant paint or stains for personalization. If you keep exploring, you’ll discover detailed steps for a durable, customized setup.
Key Takeaways
- Use weather-resistant sealant or liner to protect the sand compartment from moisture and damage.
- Build the cornhole boards with high-quality, durable materials like cedar or treated plywood for outdoor use.
- Apply weatherproof coatings or sealants to all surfaces, including the playing surface and edges, to withstand outdoor conditions.
- Ensure proper drainage in the sand compartment by including a drain hole or vent to prevent water accumulation.
- Regularly inspect and reapply weatherproofing treatments to maintain durability and prevent weather-related deterioration.
Gathering Materials and Tools for Your DIY Sand Cornhole Boards
Before you begin building your DIY sand cornhole boards, it’s essential to gather all the necessary materials and tools. Start with high-quality plywood or cedar for the boards, ideally 2 feet by 4 feet in size. You’ll need a drill, screws, a saw, sandpaper, and a measuring tape for cutting and assembly. Don’t forget a level to ensure your boards are even and a pencil for marking measurements. For the sand compartment, get a durable, weather-resistant sealant or liner to contain the sand securely. Additionally, gather paint or stain and weatherproofing sealant to protect your finished boards from the elements. Considering weatherproofing techniques can help extend the lifespan of your project significantly. Incorporating weather-resistant materials during construction can further enhance durability against outdoor conditions. Having everything on hand before you start guarantees a smooth building process without interruptions.
Designing and Measuring Your Custom Boards
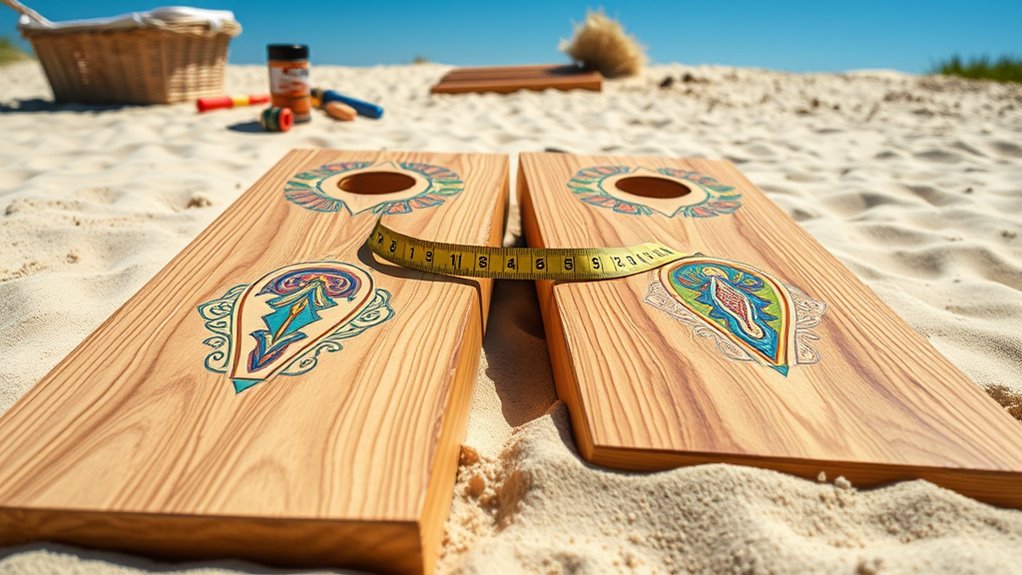
Designing and measuring your custom sand cornhole boards begins with selecting a layout that fits your space and style preferences. Decide on standard dimensions—typically 24 inches wide and 48 inches long—and guarantee there’s enough room for players to stand comfortably. Use a pencil and measuring tape to mark the corners and outline the surface. Consider adding personal touches like logos, patterns, or colors that match your theme. Double-check your measurements before drawing the final lines. Keep the playing surface flat and smooth, so the bags slide easily. Remember, accurate measurements are key to ensuring your boards are level and functional. Additionally, understanding weatherproofing techniques can help your boards withstand outdoor conditions. Incorporating market trends into your design can make your boards more appealing to potential buyers or users. Ensuring your boards are properly sealed and protected can greatly extend their lifespan outdoors. Selecting high-quality materials is essential for durability and weather resistance. Regular maintenance and choosing appropriate materials can further enhance durability and performance. Once you’re satisfied with your layout, you’re ready to move on to the building phase.
Building the Frame and Surface
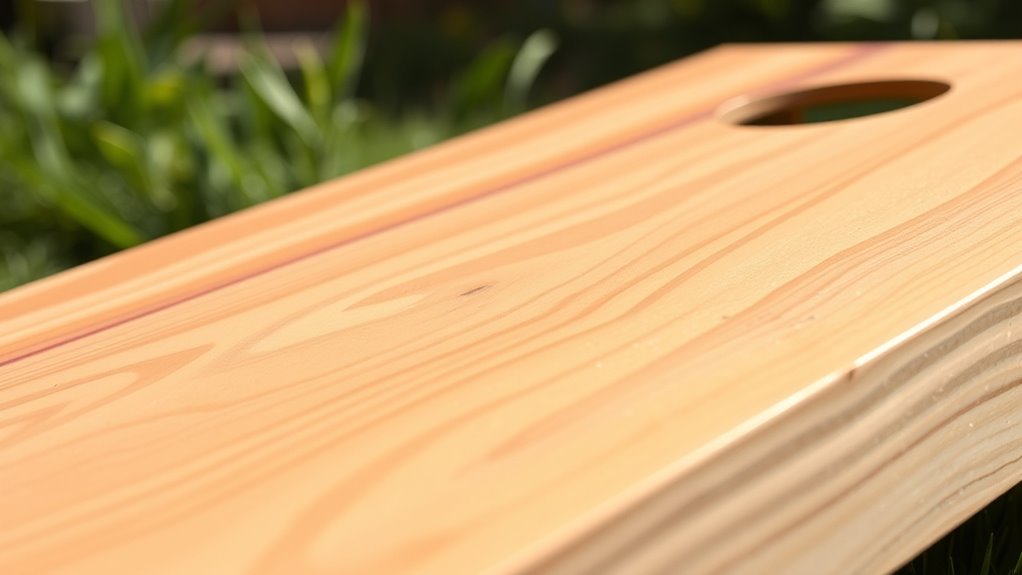
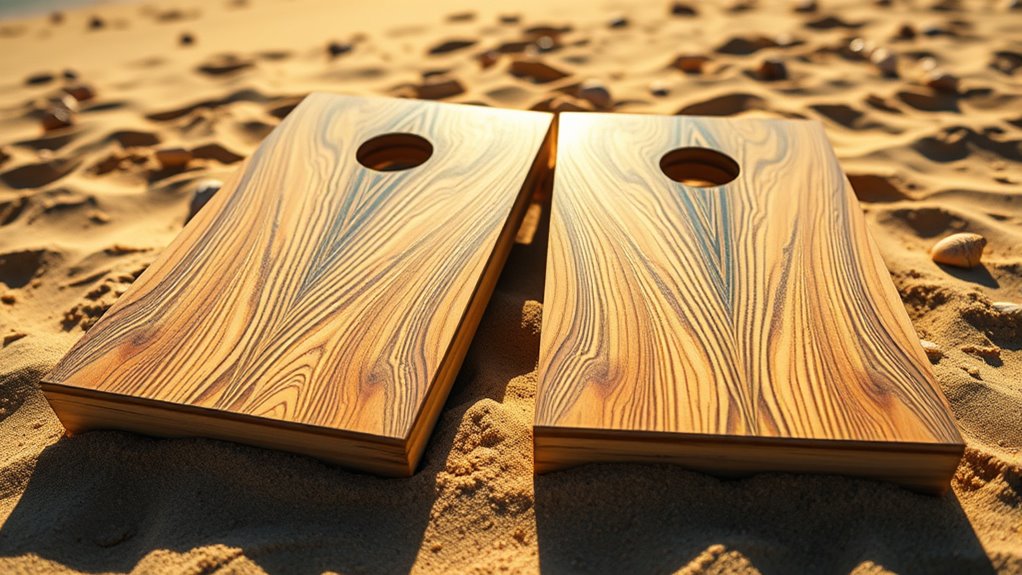
To build the frame and surface of your sand cornhole boards, start by cutting your lumber to the appropriate dimensions—typically 24 inches wide and 48 inches long for the surface, with a sturdy frame to support it. Use 2x4s for the frame, cutting four side pieces to 48 inches and two crosspieces to 24 inches. Assemble the frame using wood screws and a drill, making certain it’s square and solid. Next, attach the surface plywood to the frame, securing it with screws around the edges. Sand the surface smoothly to prevent splinters and guarantee a consistent playing surface. Double-check measurements as you go to maintain accuracy. This foundation provides stability and a flat surface, ready for the finishing touches and weatherproofing.
Applying Weatherproofing to Ensure Durability

Applying weatherproofing is a crucial step to guarantee your sand cornhole boards withstand the elements and last for years. You want your boards to resist rain, sun, and humidity, so choose a high-quality sealant or waterproof coating. Apply a thin, even layer using a brush or spray, covering all surfaces thoroughly. Let it dry completely before applying a second coat if needed. To help visualize the process, consider this quick guide:
| Step | Materials Needed | Tips |
|---|---|---|
| Clean surface | Soap, water, cloth | Remove dust and debris |
| Sand surface | Sandpaper or sanding block | Smooth out rough areas |
| Apply sealant | Waterproof sealant spray or brush | Use even strokes |
| Let dry completely | Time varies by product | Follow manufacturer instructions |
| Reapply periodically | Sealant or waterproof paint | Maintain protection |
Additionally, understanding the importance of Efficient General Ledger Coding can help manage your business finances effectively, ensuring your investment in quality weatherproofing pays off in the long run. Incorporating proper maintenance practices can further extend the lifespan of your boards and maximize your outdoor enjoyment, especially since weatherproofing is essential for outdoor DIY projects.
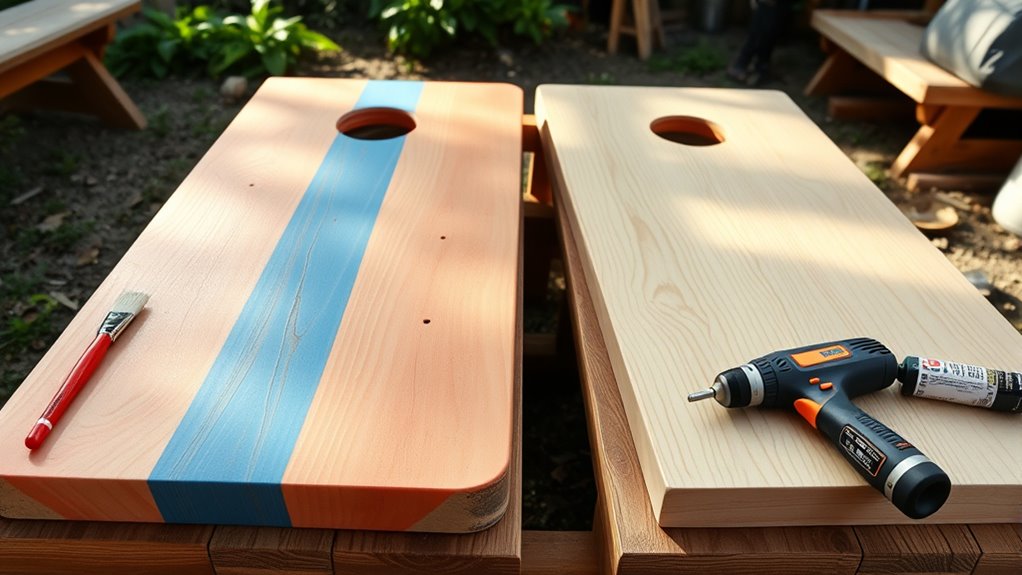
Tips for Painting and Personalizing Your Boards
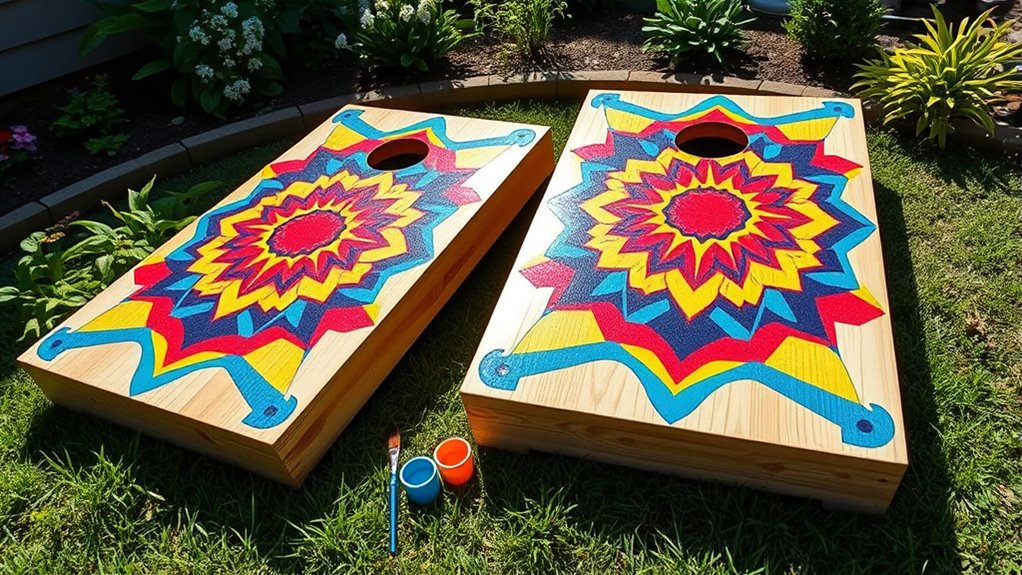
Adding personal touches to your sand cornhole boards can make them truly stand out and reflect your style. Start by choosing vibrant or themed colors that match your personality or event. Use painter’s tape to create clean lines or geometric designs, and consider stenciling fun patterns or logos for a custom look. Applying a primer before painting helps colors pop and guarantees longevity. Once your base coat dries, add details with brushes or spray paint for intricate designs. Seal your artwork with a clear, weatherproof topcoat to protect against the elements. Incorporating weatherproofing techniques ensures your artwork remains vibrant and durable in various outdoor conditions. Additionally, selecting high-quality paints designed for outdoor use can significantly enhance the durability of your artwork. Using affiliate links to purchase supplies can also support ongoing DIY projects and tutorials. To further protect your design, consider proper surface preparation techniques that improve paint adhesion and longevity.
Frequently Asked Questions
How Do I Choose the Best Sand Type for Filling the Bags?
When choosing the best sand type for filling your cornhole bags, you want something that flows easily and stays in place. Opt for fine, clean, and dry sand like play sand or silica sand, as it provides good weight and minimal mess. Avoid coarse or damp sand, which can be hard to handle and may cause uneven throws. Testing small amounts helps verify your bags perform well during gameplay.
What Safety Precautions Should I Take During Weatherproofing?
Weatherproofing your cornhole boards is vital, yet it’s easy to overlook safety. You should always work in a well-ventilated area to avoid inhaling fumes from sealants or paints. Wear gloves and eye protection to prevent skin and eye irritation. Keep children and pets away while applying weatherproofing materials. Never smoke or create sparks nearby, as fumes can be flammable. Prioritize safety to enjoy your game worry-free and protect your investment.
Can I Customize the Board Size Beyond Standard Dimensions?
You can definitely customize the board size beyond standard dimensions. Just guarantee your new measurements follow official regulations if you plan to use the boards in tournaments or competitions. Measure carefully and mark your cuts precisely to maintain balance and gameplay quality. Keep in mind, larger or smaller boards might affect the game’s difficulty, so test your customization before finalizing. Adjusting size allows you to personalize your game while keeping it fun and functional.
How Long Does the Weatherproofing Last Before Reapplication Is Needed?
Like a seasoned sailor knows their vessel, you’ll want to keep your boards protected. Weatherproofing typically lasts 6 to 12 months, depending on exposure and product quality. Regularly inspect for peeling or wear, and reapply when needed, much like tending a garden. Proper maintenance guarantees your boards stay in top shape, ready for game day, just as a well-kept ship remains seaworthy through changing seas.
Are There Eco-Friendly Alternatives to Traditional Weatherproofing Materials?
You’re wondering if eco-friendly options exist for weatherproofing your cornhole boards. Luckily, several natural alternatives like tung oil, beeswax, or plant-based sealants offer effective protection without harmful chemicals. These options are biodegradable, sustainable, and safe for the environment. By choosing eco-friendly products, you guarantee your boards stay protected while reducing your ecological footprint, making your game setup greener and more sustainable.
Conclusion
Did you know that cornhole is one of the fastest-growing outdoor games, with over 20 million players in the U.S.? By building and weatherproofing your own sand cornhole boards, you can enjoy this popular game for years to come. With the right materials and a bit of creativity, you’ll have durable, personalized boards perfect for outdoor fun. So go ahead—grab your tools and start creating your custom set today!