
One common step homeowners skip is fully draining and insulating outdoor or exposed pipes, which can lead to costly freezing and pipe bursts. Many forget to drain hoses, sprinkler systems, and water lines outside, leaving residual water that can freeze. Properly shutting off water, draining pipes, and applying insulation or heat tape is essential. If you want to avoid winter surprises and protect your pipes, keep going—you’ll learn how to do it correctly.
Key Takeaways
- Many neglect draining and insulating outdoor or exposed pipes, increasing their risk of freezing and cracking.
- Failing to turn off the main water supply and properly drain pipes leaves residual water vulnerable to freezing.
- Overlooking insulation in unheated areas like basements, attics, or near exterior walls weakens pipe protection.
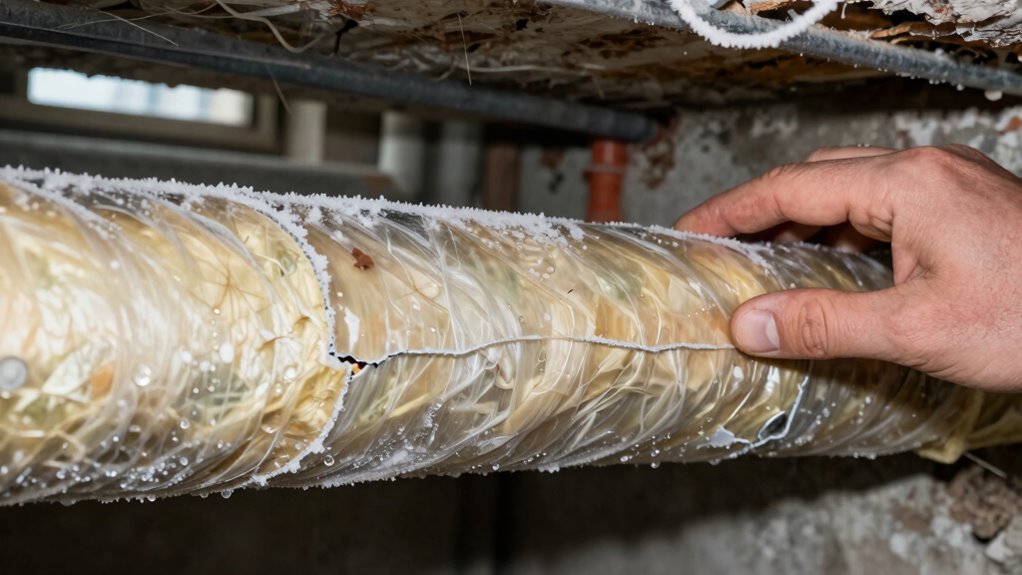
- Skipping inspection and replacement of worn or gaps in insulation reduces its effectiveness against cold temperatures.
- Not installing or testing heat tape properly can result in inadequate heating of vulnerable pipes during cold snaps.
How to Find Pipes That Might Freeze This Winter
As winter approaches, it is vital to identify which pipes are at risk of freezing. Start by inspecting pipe material; plastic pipes are more vulnerable than metal ones because they are less resistant to cold. Next, focus on pipe location—pipes located in unheated areas like basements, crawl spaces, attics, garages, or outside walls face higher freezing risks. Check for pipes running along exterior walls or those exposed to drafts, as these are prime candidates for freezing. Don’t forget to contemplate pipes near windows or in poorly insulated spaces. Knowing where your pipes are and understanding their material helps you prioritize which ones need extra protection, so you can take steps before the cold weather hits.
The Most Overlooked Step in Winterizing Your Pipes
While identifying vulnerable pipes is important, many homeowners overlook a key step that can make all the difference: draining and insulating outdoor and exposed pipes. Proper pipe maintenance involves ensuring water flow is fully stopped and pipes are cleared of any remaining water. Stagnant water inside pipes can freeze, causing them to crack or burst. Insulating these pipes helps retain residual heat and prevents freezing during cold snaps. This overlooked step is essential because it reduces the risk of costly water damage and repairs. Even if you’ve insulated your home’s interior pipes, neglecting outdoor and exposed pipes leaves a vulnerability. Taking the time to drain and insulate these pipes boosts your winterizing efforts and protects your home from unpredictable winter weather.
How to Drain and Insulate Your Pipes Before Cold Weather
To protect your pipes from freezing, you need to learn how to properly drain them to remove any remaining water. Insulating your pipes with the right techniques can prevent heat loss and avoid costly repairs. Let’s explore the best methods to drain and insulate your pipes effectively before the cold weather arrives.
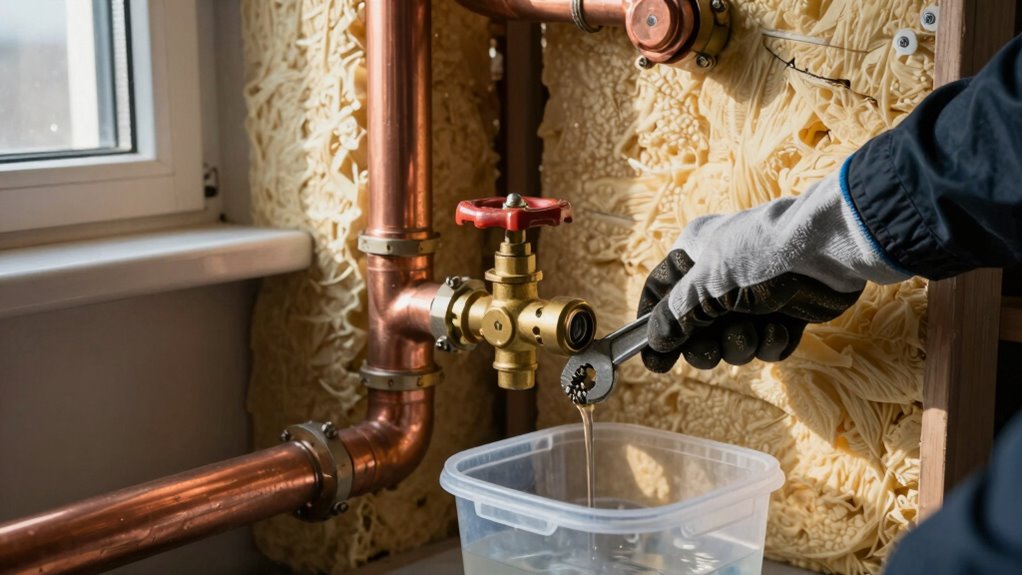
How to Properly Drain Pipes
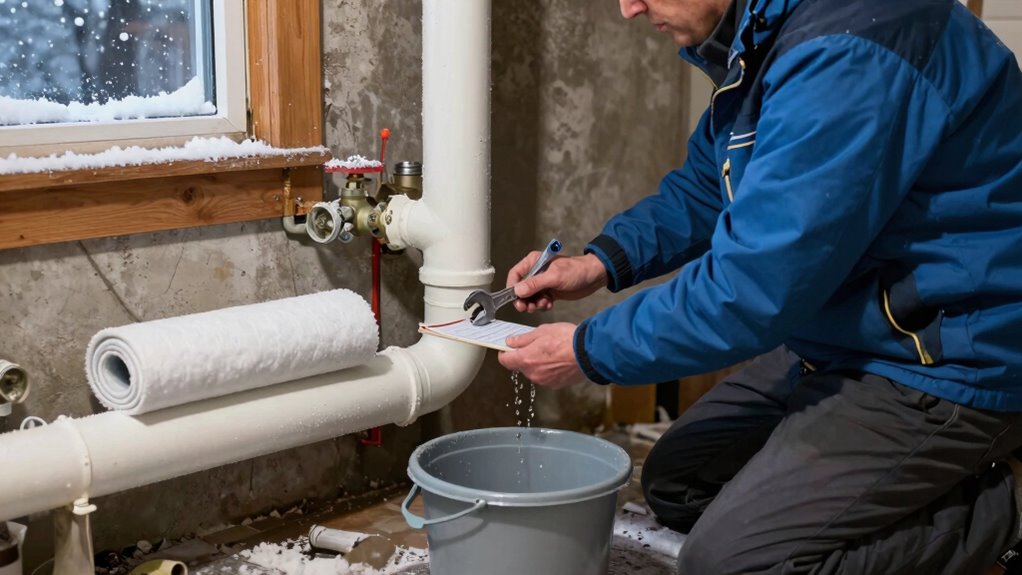
Before cold weather arrives, it is vital to drain your pipes properly to prevent freezing and potential damage. Start by turning off your main water supply and opening all drain valves to release remaining water in the system. Next, open faucets at the highest and lowest points of your home to allow air to flow through the pipes, ensuring complete drainage. Use a wet/dry vacuum to suck out any leftover water from drain traps and low spots. Once drained, consider installing pipe insulation to protect vulnerable areas, but don’t forget that proper drainage is the first step. Confirm all water is out before shutting off the system entirely. Proper drainage minimizes the risk of frozen pipes cracking during the cold months.
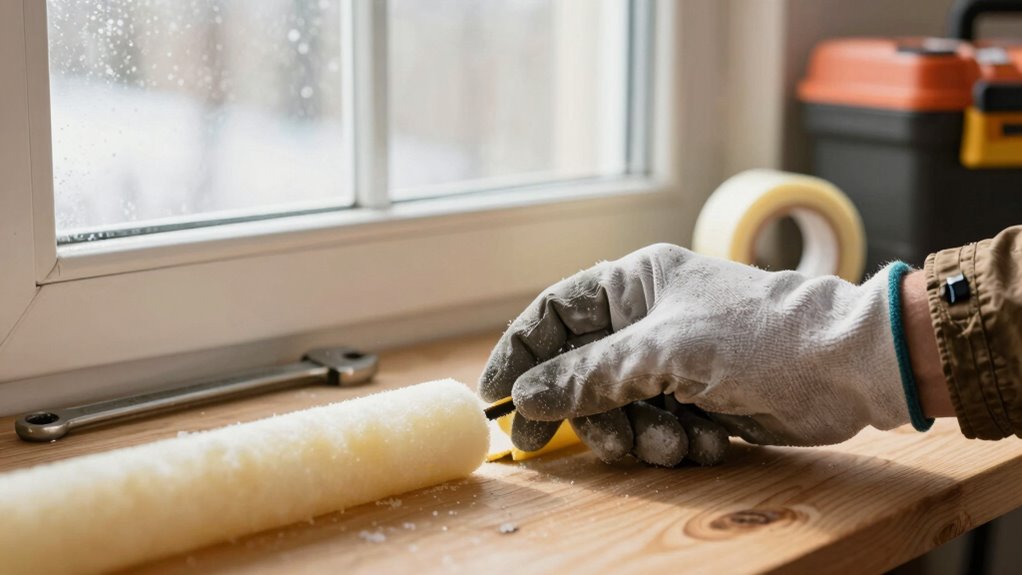
Effective Pipe Insulation Techniques
Proper insulation is essential to keep your pipes safe during cold weather. To effectively insulate, start with pipe wrapping or foam insulation around vulnerable pipes, especially those in unheated areas. Wrap pipes tightly, ensuring no gaps, and secure with tape or zip ties. Consider installing foam insulation sleeves for added protection, which are easy to fit and provide excellent thermal resistance. For pipes exposed to extreme cold, double-layer insulation or additional pipe wrapping can prevent freezing. Remember to insulate both hot and cold water lines. Regularly check insulation for wear or gaps and replace as needed. Properly insulating your pipes minimizes the risk of cracks and costly repairs, ensuring your plumbing stays intact through winter’s worst.
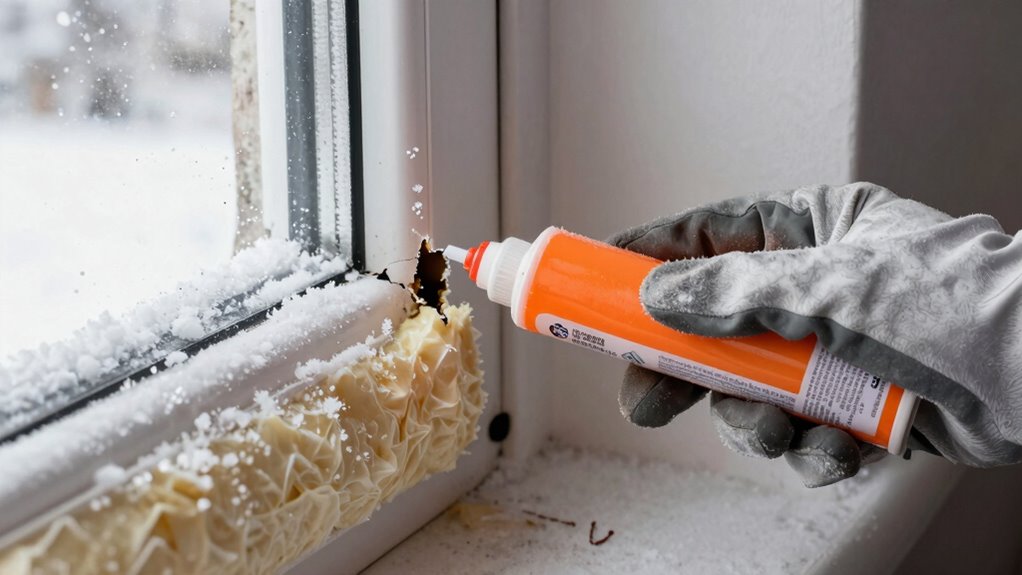
Applying Heat Tape and Insulation Correctly

Applying heat tape and insulation correctly is essential to protect your pipes from freezing during the winter months. Start with proper pipe insulation, ensuring it covers all vulnerable sections completely. When installing heat tape, follow the manufacturer’s instructions carefully, ensuring it’s snug but not overly tight. Use heat tape installation techniques that keep the tape evenly spaced along the pipe, avoiding overlaps or gaps that could lead to cold spots. Secure the tape with electrical tape or clips, and make sure the power source is accessible and protected from moisture. Always test the heat tape before winter hits to confirm it’s working efficiently. Proper installation of pipe insulation combined with correct heat tape application is your best defense against frozen, burst pipes.
Common Mistakes That Still Lead to Frozen Pipes

Even with the best intentions, many homeowners still make common mistakes that leave their pipes vulnerable to freezing. One mistake is neglecting proper pipe insulation, especially in unheated areas, which can allow cold air to reach pipes. Overlooking the water heater’s role is another error; failing to insulate the pipes connected to it can cause freezing. Relying solely on turning up the heat instead of insulating vulnerable pipes is risky. Forgetting to seal gaps around doors and windows lets cold drafts in, increasing the risk. In the end, ignoring the importance of maintaining consistent indoor temperatures can cause pipes to freeze unexpectedly. To avoid these pitfalls, ensure all pipes, particularly near the water heater, are well insulated, and keep your home temperature steady.
What to Do Immediately If Your Pipes Freeze?

If you notice your pipes are frozen, the first step is to turn off the main water supply to prevent further damage. Then, carefully thaw the pipes using warm towels or a hairdryer, avoiding open flames. Taking these quick actions can help minimize water damage and prevent the pipes from bursting.
Turn Off Main Water
When you notice your pipes have frozen, the first step is to turn off the main water supply immediately. This prevents further pressure build-up, which could cause pipes to crack or burst, damaging your plumbing system. Locate your main water valve—usually near your water meter or basement—and shut it off completely. Doing this quickly minimizes water damage and helps avoid flooding. Remember, a swift response is vital to protect your home.
Here are the steps to take:
- Find your main water shut-off valve
- Turn the valve clockwise to close
- Open nearby faucets to drain remaining water
- Check for leaks or cracks in the plumbing system
- Keep the area warm to prevent additional freezing
Thaw Pipes Safely
As soon as you notice your pipes have frozen, act quickly to thaw them safely and prevent further damage. Start by turning on warm heat sources like space heaters or hair dryers, but keep them at a safe distance from pipes and never leave them unattended. Use gentle heat to avoid pipe bursts—do not use open flames or high heat. If possible, open cabinet doors to let warm air reach exposed pipes, especially those with inadequate pipe insulation. Apply heat evenly along the frozen section, working from the faucet back toward the coldest part. Keep the faucet slightly open to allow melting water to escape. Prompt, cautious action minimizes the risk of pipe cracks and water damage.
Long-Term Ways to Protect Your Pipes All Year Round
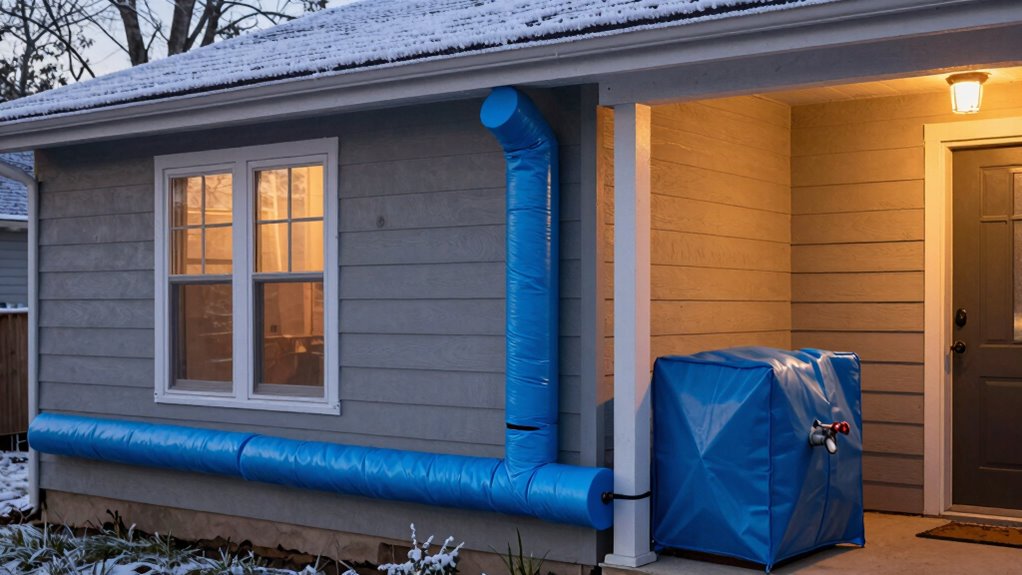
To keep your pipes safe throughout the year, implementing long-term protective measures is essential. Regular garden maintenance can prevent debris from clogging outdoor pipes and reduce pressure on your plumbing system. Using the right plumbing tools for inspections helps identify issues early before they become costly repairs. Insulating exposed pipes with foam sleeves or heat tape minimizes the risk of cracks in colder months. Keep your home’s temperature stable to prevent freezing. Additionally, check and repair leaks promptly to avoid water damage and pipe deterioration. Consider installing a whole-house water filter to reduce mineral buildup. These proactive steps ensure your pipes stay durable and functional year-round, saving you time, money, and stress in the long run.
Why Proper Pipe Winterization Saves You Money and Stress
Proper pipe winterization is a smart investment that prevents costly repairs and emergency calls during freezing weather. When you take the time for pipe maintenance, you reduce the risk of pipes cracking or bursting, which can lead to expensive repairs. Winterizing your pipes also helps you conserve water by avoiding leaks caused by damaged pipes. This proactive approach minimizes the stress of dealing with unexpected plumbing emergencies and keeps your home running smoothly. Additionally, proper winterization guarantees you don’t waste money on unnecessary repairs or water bills. By investing in these simple steps, you protect your property, save money, and make your winter stress-free. It’s a small effort that delivers significant peace of mind and long-term savings.
Frequently Asked Questions
What Are the Signs Indicating Pipes Are About to Freeze?
You’ll notice signs like your pipes making knocking or banging sounds, which indicate freezing or expanding. Reduced water flow can also be a warning. To prevent damage, make sure your pipes are well-insulated with pipe insulation, especially in unheated areas. Using heat cables along vulnerable pipes helps keep them warm. Keep an eye out for these signs and take action early to avoid costly repairs caused by frozen or burst pipes.
How Often Should I Check My Pipes During Winter?
Think of your pipes as delicate dancers needing constant cues. You should check them at least once a day during extreme cold snaps and regularly throughout winter. Use insulation techniques like pipe insulation to protect vulnerable spots, especially in unheated areas. Regular checks help you spot issues early, preventing costly repairs. Keep an eye on any signs of freezing, and make certain your insulation remains intact to keep your pipes safe all season long.
Can Outdoor Plants Affect Indoor Pipe Freezing?
Outdoor plant impact can influence indoor pipe freezing, especially if plants block vents or insulation, trapping cold air near your home. To prevent issues, use plant placement strategies that keep plants away from vulnerable areas like vents and pipes. Properly trimming and relocating outdoor plants reduces cold exposure, helping maintain warmer indoor temperatures and decreasing the risk of frozen pipes. Stay proactive by managing plant placement around your home this winter.
Are There Specific Materials More Resistant to Freezing?
You’re better off with insulation materials like foam or fiberglass, as they resist freezing more than other options. Pipe coatings, such as rubber or specialized sealants, also add an extra layer of protection. While no material is completely foolproof, choosing the right insulation and coatings can help you stay a step ahead of winter’s chill. Remember, an ounce of prevention is worth a pound of cure when it comes to frozen pipes.
How Does Pipe Placement Influence Freezing Risk?
Your pipe placement substantially impacts freezing risk. Pipes located along exterior walls or in unheated areas are more vulnerable. To reduce this risk, you should install pipe insulation around these pipes and ensure vent placement is strategic, preventing cold air from reaching vulnerable spots. Properly insulating and positioning pipes away from drafts helps maintain warmer temperatures, protecting them from freezing and reducing potential damage during winter.
Conclusion
Remember, neglecting even the smallest step in winterizing your pipes is like leaving your house unprotected in a snowstorm—you risk everything freezing over. By catching those overlooked spots and taking proactive measures, you’re not just preventing costly repairs; you’re safeguarding your peace of mind. So, don’t wait for winter’s icy grip to remind you—act now, and keep your home warm and worry-free all season long. Your pipes will thank you.