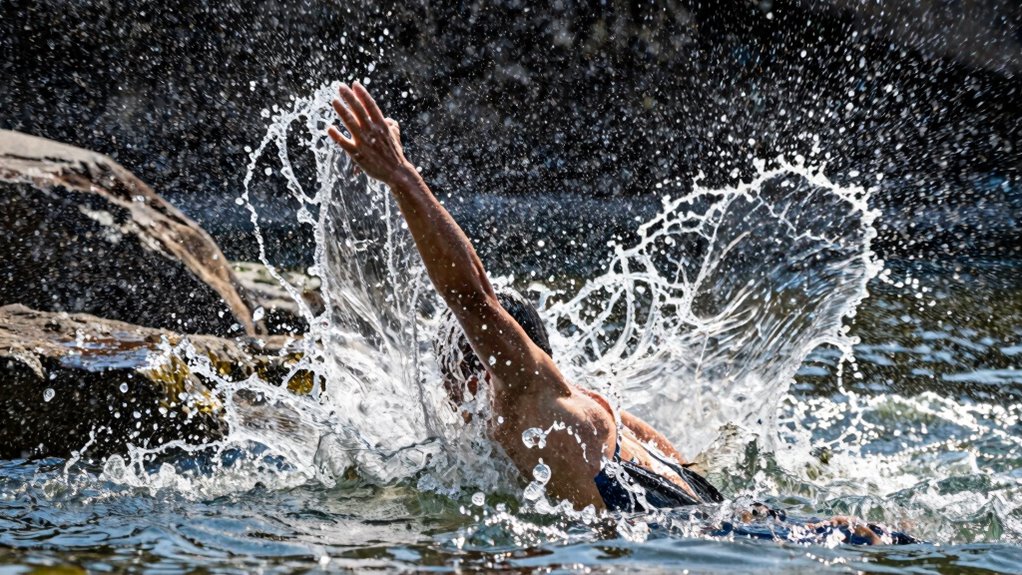
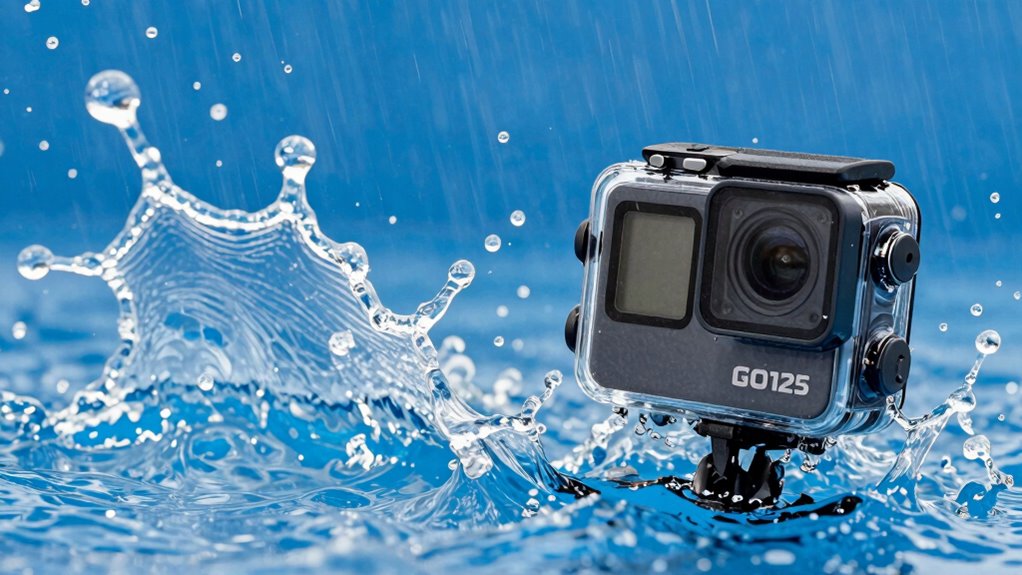
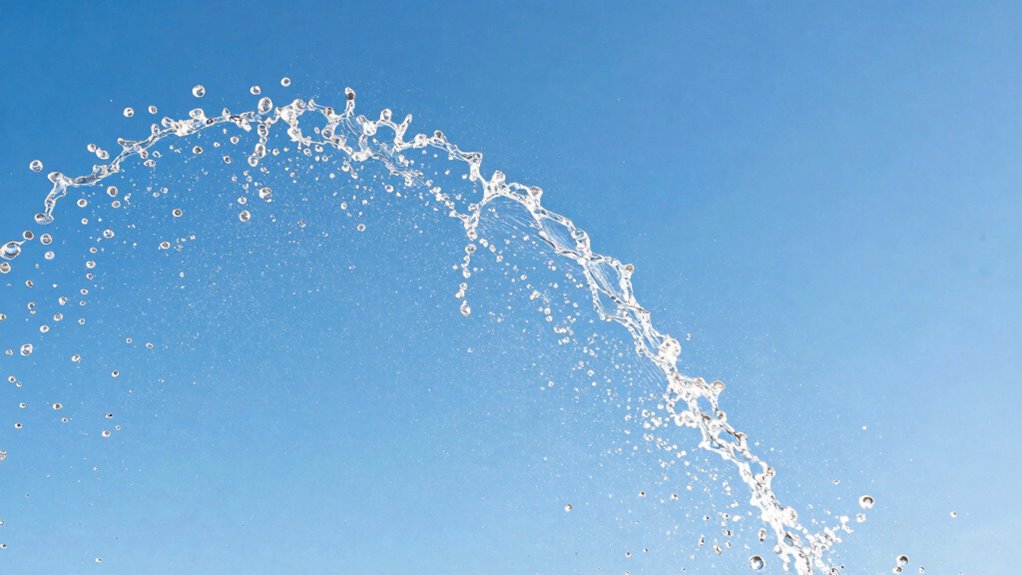
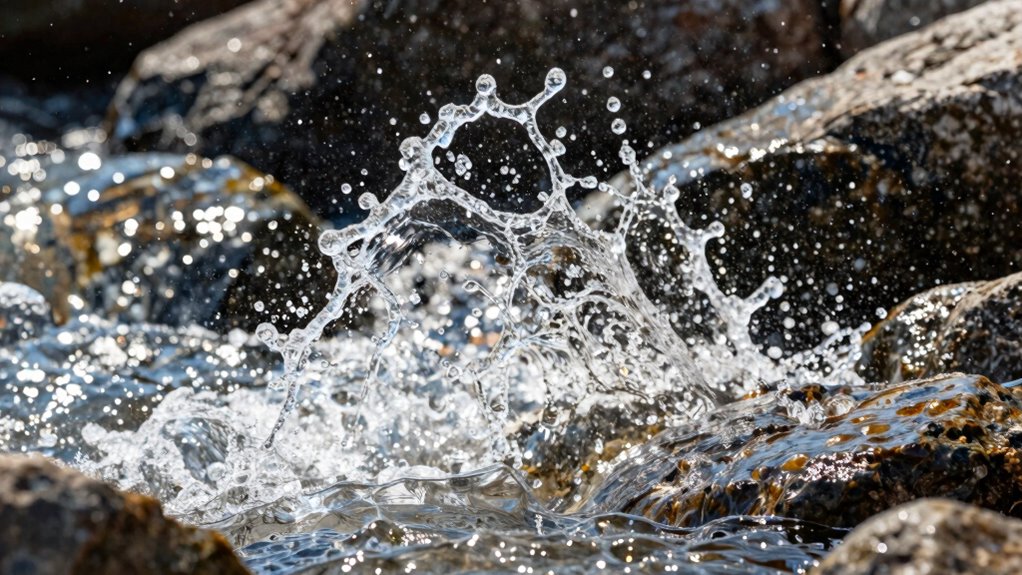
To capture splashy scenes with your action camera, focus on high frame rates like 120 fps or higher for smooth slow-motion shots of water droplets and splashes, especially when you want detailed, vibrant effects. For fast-moving water or quick splashes, 60 fps or 120 fps works well to reduce motion blur. If you keep these settings in mind and adapt based on scene conditions, you’ll get clearer, sharper footage every time—there’s more to master for perfect shots.
Key Takeaways
- Use 120 fps or higher for smooth slow-motion of splash effects and droplets.
- Set 60 fps for general fast water action scenes requiring reduced motion blur.
- Opt for 240 fps or 480 fps for ultra-slow-motion capturing detailed splashes and ripples.
- Match frame rate to scene turbulence: higher fps for turbulent water, lower for calm conditions.
- Consider camera model capabilities; high-end devices support higher fps at 4K, ideal for dynamic splash scenes.

AKASO Waterproof Case for Brave 4/EK7000 Pro/V50X Action Camera, NOT Compatible with AKASO EK7000
- Compatible with Brave 4, EK7000 Pro, V50X: Waterproof case for select AKASO cameras
As an affiliate, we earn on qualifying purchases.
As an affiliate, we earn on qualifying purchases.
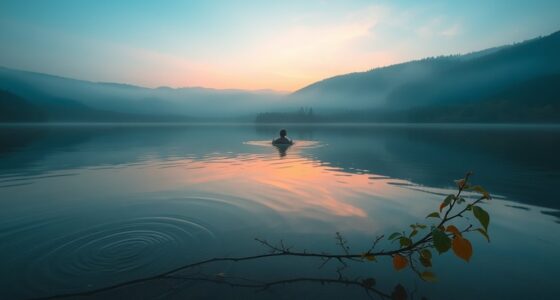
Why Water Movement Matters for Your Action Camera Footage
Water movement can considerably impact the clarity and stability of your action camera footage. When water is choppy or turbulent, it causes motion blur and makes it harder to keep your shots steady. This affects water clarity, as suspended particles and ripples distort the scene, making details harder to see. To counteract this, you need good camera stabilization settings to minimize shake and jitter caused by water currents. By understanding how water movement influences your footage, you can adjust your camera’s frame rate and stabilization features accordingly. Reducing the effects of water motion ensures sharper, clearer videos, allowing viewers to enjoy the scene without distraction. Staying mindful of water movement helps you capture smooth, professional-looking shots, even in challenging aquatic environments.
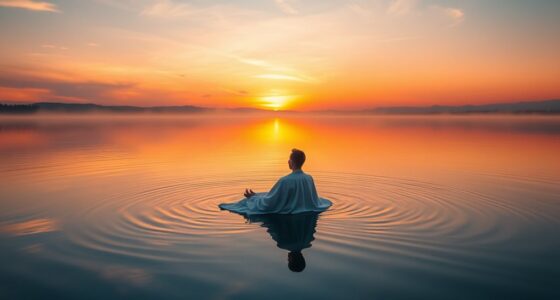
How Water Dynamics Affect Your Shot Quality
Have you ever noticed how the movement of water can drastically change the quality of your footage? Water dynamics influence clarity, stability, and overall sharpness. Fast-moving water creates motion blur, requiring you to adjust camera angles to avoid shaky shots. Lighting conditions also play a role—bright sunlight enhances details, while low light can cause graininess. Consider this table to optimize shot quality:
| Water Speed | Camera Angle | Lighting Condition |
|---|---|---|
| Calm | Low angle for reflection | Bright, direct light |
| Rushing | High angle to capture flow | Overcast for softer |
| Splashy | Close-up for detail | Low light with filters |
| Still | Wide shot for context | Consistent natural |
Adjusting these elements guarantees your footage stays sharp, vibrant, and engaging despite water’s unpredictable nature.
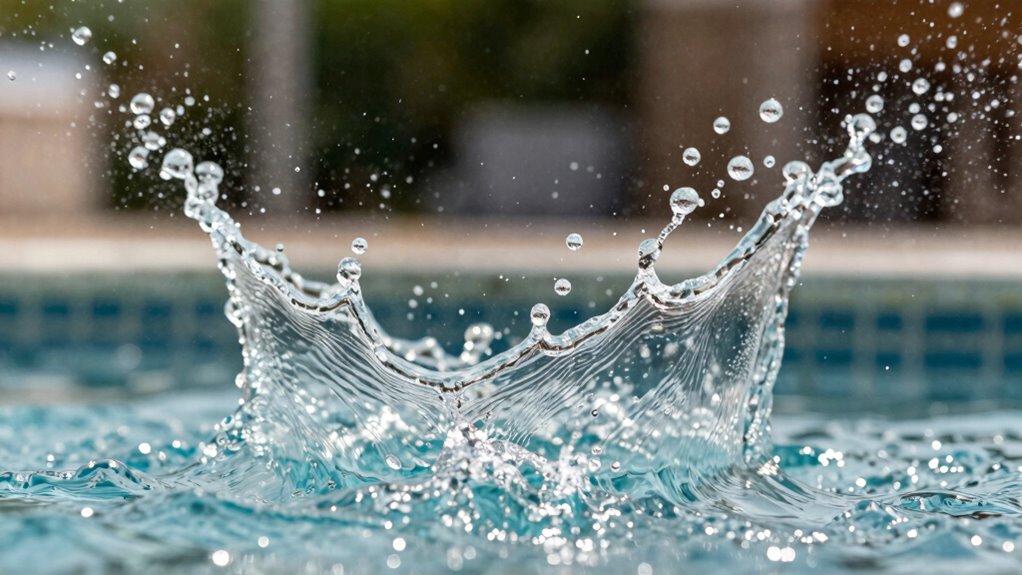
What Are the Best Frame Rates for Slow-Mo Splash Shots?
Choosing the right frame rate is key to capturing smooth slow-motion splash shots. You need to balance quality and speed to get the best detail without sacrificing fluidity. Let’s explore which frame rates work best for your water action footage.
Optimal Frame Rate Choices
To capture stunning slow-motion splash shots, selecting the right frame rate is essential. For smooth, high-quality footage, aim for 120 fps or higher, as these rates allow you to slow down footage without sacrificing clarity. When editing underwater scenes, higher frame rates give you more flexibility during underwater editing, ensuring your splashes look crisp and detailed. Use waterproof accessories that support these high frame rates to prevent damage and maintain ideal recording quality. Keep in mind that shooting at 240 fps or even 480 fps can produce ultra-smooth slow-motion effects, ideal for emphasizing splash dynamics. Just ensure your camera’s capabilities and storage options can handle these settings. Choosing the right frame rate guarantees your splash shots look vibrant, sharp, and professional, whether viewed on small screens or large displays.
Balancing Quality and Speed
Finding the right balance between quality and speed when selecting frame rates for slow-motion splash shots is crucial for achieving professional results. Higher frame rates, like 120 fps or more, capture every droplet and ripple with detail, essential in underwater photography. However, faster speeds demand more processing power and storage. Water temperature effects can influence how water moves, so choosing the right frame rate ensures you capture these nuances clearly.
Consider these factors:
- Use 60 fps for moderate detail without taxing your camera.
- Opt for 120 fps in cold water to highlight sharp splash details.
- Choose 240 fps in warm water for ultra-smooth slow-motion.
- Balance quality with your camera’s capabilities to avoid choppy footage.
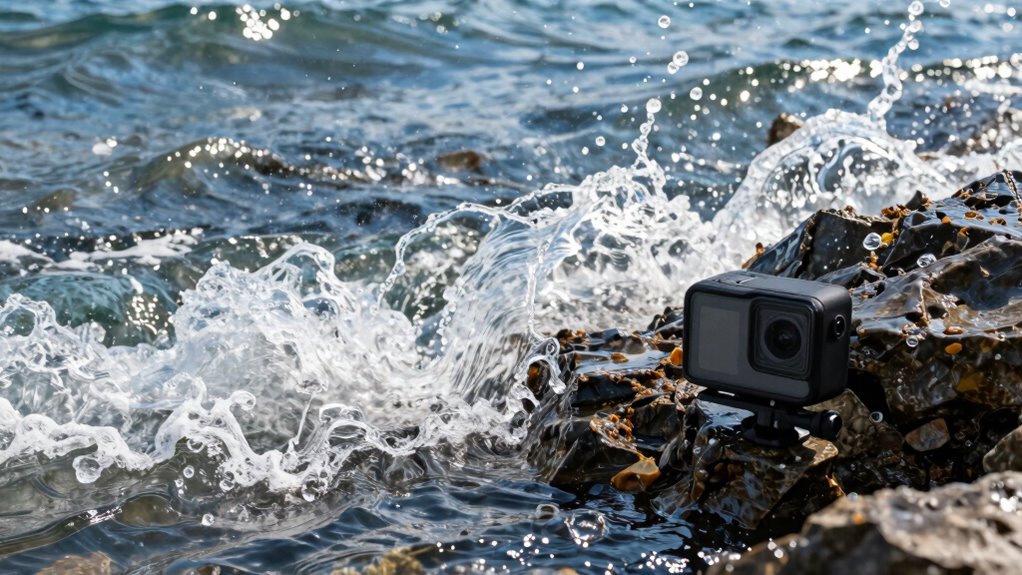
Which Frame Rates Capture Fast Water Action Smoothly?

To capture fast-moving water action smoothly, you need to choose the right frame rate. Higher frame rates, like 120 fps or more, help you record quick movements clearly without motion blur. Finding the right balance guarantees your footage stays sharp while maintaining a natural, fluid look.
Optimal Frame Rates for Speed
Capturing fast-moving water action requires selecting the right frame rate to guarantee smooth footage. To do this effectively, consider these ideal options:
- 60 fps – Perfect for capturing rapid splashes, reducing motion blur, and enhancing water refraction effects.
- 120 fps – Ideal for slow-motion shots, allowing you to analyze the splash details with smoothness.
- 240 fps – Excellent for ultra-slow-motion, showing every droplet and ripple in stunning clarity.
- 30 fps – Suitable for general speed shots, balancing camera stabilization and natural motion.
Higher frame rates help minimize motion blur and maintain clarity, especially when water moves swiftly. Adjust settings based on your scene’s speed, ensuring your camera stabilization keeps each shot steady despite rapid water dynamics.
Balancing Smoothness and Clarity
Choosing the right frame rate is key to balancing smoothness and clarity when filming fast water action. Higher frame rates, like 60 or 120 fps, help you capture water turbulence smoothly, reducing motion blur and preserving detail. However, extremely high frame rates may require more camera stabilization, since rapid movements can cause shakiness. To get clear, fluid shots, verify your camera’s stabilization is effective, especially during intense turbulence. A steady shot allows you to maintain clarity without sacrificing smoothness. Conversely, lower frame rates might produce a more cinematic look but can make fast-moving water appear choppy. By selecting a frame rate that matches the scene’s turbulence level and stabilizing your camera properly, you’ll strike the perfect balance between fluid motion and sharp detail.
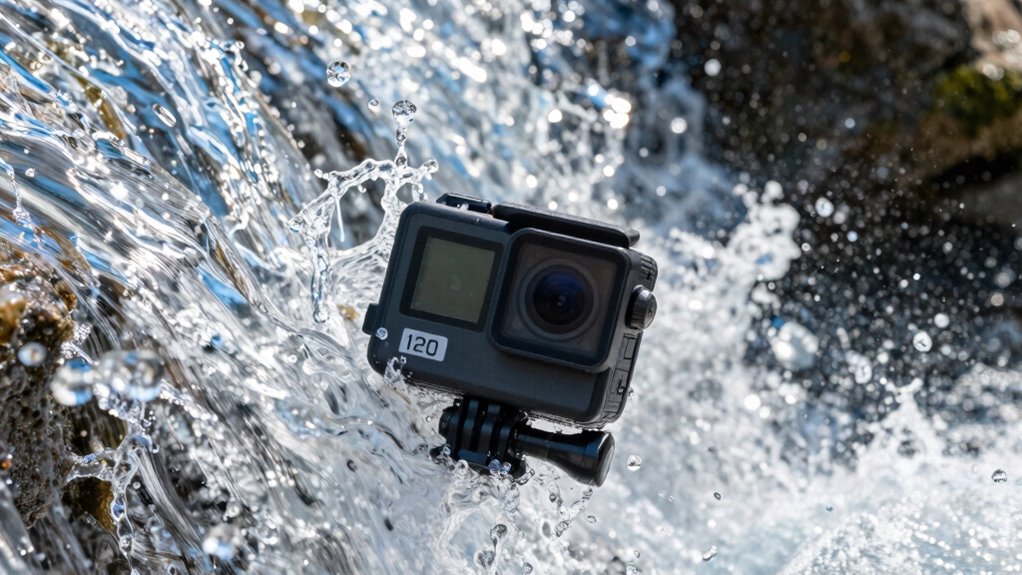
High-Speed Water Capture
When filming fast-moving water, using higher frame rates guarantees your footage stays smooth and detailed. Selecting 120fps or higher lets you freeze splashes, spray, and rushing currents with clarity. To achieve ideal results, consider these factors:
- Adequate underwater lighting to prevent graininess in high fps shots.
- Water clarity, ensuring visibility of rapid movements without distortion.
- Shutter speed matching frame rate to preserve natural motion.
- Using a lens with minimal distortion for sharp, crisp images even during rapid action.
Higher frame rates are especially effective in turbulent conditions, capturing every splash and ripple cleanly. Keep in mind, bright lighting and clear water boost image quality, allowing you to record smooth, splashy scenes that truly pop with detail.
How to Choose Water Settings Based on Scene Type
Ever wondered how to set your action camera’s water mode for different scenes? Your choice depends on the scene type to capture the best footage. For underwater photography, opt for settings that emphasize clarity and color accuracy, often with a lower frame rate to reduce motion blur and enhance detail. When filming water sports, choose higher frame rates to freeze fast movements and splashes, ensuring smooth, crisp footage. Consider your water sports gear and environment—surfboards, kayaks, or snorkeling gear—when adjusting settings. Calm lakes or pools may allow for slower, more cinematic shots, while rougher waters demand faster shutter speeds. Matching your water settings to the scene type guarantees sharper images and more engaging footage, elevating your overall action camera experience.
Adjusting Frame Rates for Different Action Camera Models and Resolutions
Adjusting frame rates on your action camera depends heavily on the model you’re using and the resolution settings you select. Different models handle water physics and camera stabilization uniquely, affecting your footage quality. Consider these factors:
- Higher-end models often support 120 fps at 4K, capturing fast splashes with clarity.
- Budget cameras might max out at 60 fps, suitable for moderate splash scenes.
- Lower resolutions like 1080p allow higher frame rates, enhancing water motion detail.
- Stabilization features vary; some models excel at reducing shake during splashy action, while others struggle at high fps.
Matching your camera’s capabilities with the scene’s motion helps achieve smooth, splashy footage. Adjusting frame rates according to your model and resolution ensures superior water physics representation while maintaining stable shots.
Tips for Getting Clear, Smooth Splash Footage
Getting clear, smooth splash footage requires careful attention to camera settings and technique. First, consider water temperature, as colder water can cause lens fogging or condensation, so use anti-fog solutions or keep your camera in a dry, warm environment before filming. To achieve smooth footage, focus on camera stabilization—use a gimbal or mount to minimize shake, especially during rapid splashes. Keep your camera steady and avoid abrupt movements that can cause jitter. Adjust your shutter speed to match your frame rate; a faster shutter helps freeze motion, resulting in clearer splashes. Also, set your camera to a high frame rate to capture fluid, detailed splashes without motion blur. These tips ensure your footage remains sharp, stable, and visually engaging despite splashing water.
Common Water Shooting Mistakes and How to Avoid Them

One common mistake when shooting water is using improper camera settings, which can lead to blurry or poorly exposed footage. To avoid this, pay attention to water safety and equipment maintenance. Here are four typical mistakes:
- Using slow shutter speeds that cause motion blur when capturing splashes.
- Forgetting to clean your lens, resulting in hazy footage.
- Ignoring protective gear, risking damage to your camera from water or debris.
- Overlooking battery or storage issues, leading to missed shots during active water scenes.
Post-Processing Tricks to Enhance Splashy Water Videos
After capturing your water footage, the real magic begins in post-processing. To enhance splash effects, start by adjusting your water lens settings to reduce glare and improve clarity. Use sharpening tools to make the splash details pop, emphasizing the water’s movement. Color correction can brighten dull scenes and boost contrast, making splashes more vivid. Adding subtle slow-motion effects accentuates fast-moving splash effects, creating a more dramatic impact. You can also apply selective blurring around the splash to focus viewers’ attention. If needed, use noise reduction to minimize grain, especially in low-light shots. These tricks help you transform raw footage into dynamic, splashy water videos that captivate your audience, highlighting every splash and ripple with clarity and energy.
Final Tips for Perfect Water Shots With Your Action Camera

To get the best water shots, make sure you’re using proper water protection for your camera, so it stays safe and dry. Adjust your frame rate settings to capture smooth, high-quality footage that matches the action. Keep these tips in mind to guarantee your water scenes turn out sharp and professional.
Use Proper Water Protection
Protecting your action camera from water damage is essential for capturing clear, high-quality shots. To do this, use a waterproof housing that fully encloses your device, ensuring no water slips in during splashes or submersion. Apply a water-resistant coating to your camera’s surface for added protection against moisture and corrosion. Additionally, check seals and gaskets regularly for wear and tear before hitting the water. Remember, a secure seal prevents leaks that can ruin your footage. Keep your camera dry and safe with these steps:
- Enclose it in a well-fitted waterproof housing.
- Treat the exterior with a water-resistant coating.
- Inspect seals for cracks or debris.
- Avoid unnecessary exposure to water when not recording.
Following these tips helps preserve your gear and guarantees crisp, splashy shots every time.
Adjust Frame Rate Settings
Adjusting your frame rate is essential for capturing the best water shots with your action camera. Higher frame rates, like 120 fps, are ideal for fast-moving water, such as splashes or waves, ensuring smooth playback. Lower frame rates, like 30 fps, work well for calmer scenes. Keep water temperature and depth in mind; colder water often results in clearer images, while deeper water may require different settings to avoid motion blur. Use this table to help choose your settings:
| Water Temperature | Recommended Frame Rate |
|---|---|
| Cold | 120 fps |
| Warm | 60 fps |
| Shallow | 30 fps |
| Deep | 60 fps |
| Turbulent | 120 fps |
Adjust your settings based on these factors for ideal shots.
Frequently Asked Questions
How Does Lighting Influence the Choice of Frame Rate for Water Scenes?
Lighting conditions greatly influence your choice of frame rate for water scenes. In bright light, you can use higher frame rates, capturing crisp, detailed shots while maintaining camera stability. Low light requires slower frame rates to avoid noise and ensure proper exposure. Adjusting for lighting helps you attain smoother footage, especially during splashy scenes, by balancing exposure and motion. Always consider lighting to optimize your camera settings for the best splashy water shots.
Can Different Water Textures Require Unique Camera Settings for Optimal Footage?
You’ll find that different water textures, like calm lakes or choppy seas, do require unique camera settings. For smooth water surfaces, opt for lower frame rates to capture serene scenes. When dealing with wave dynamics in rough waters, higher frame rates help you freeze rapid motion. Adjust your settings accordingly to avoid missing key details—sometimes, it’s all about playing it by ear to get the best footage possible.
What Are the Best Audio Settings When Filming Splashy Water Scenes?
For splashy water scenes, you should set your camera’s audio to prioritize clarity by using wind reduction or wind noise filters. This helps minimize wind noise and captures the authentic sound of splashes. Adjust the microphone sensitivity to prevent distortion from loud splashes, ensuring you get crisp, clear audio. Test different settings beforehand to find the perfect balance between capturing water sounds and reducing unwanted background noise.
How Do Weather Conditions Impact the Optimal Water Camera Settings?
Like a painter adjusting their palette, you must adapt your settings to weather impact and water clarity. Overcast skies may require higher exposure, while bright sunlight demands lower settings to prevent overexposure. Windy conditions can cause instability, so use a steadier frame rate. Clear water allows for faster shutter speeds, capturing splashes crisply, but murky water may need slower speeds to enhance visibility. Adjust your camera to match these conditions for ideal shots.
Are There Specific Lens Accessories Recommended for Water Splash Shots?
For water splash shots, you should consider using lens filters to reduce glare and enhance clarity. A polarizing filter works well to cut down reflections, while a UV filter safeguards your lens. Additionally, invest in a waterproof housing to keep your camera dry and secure during splashes. These accessories help you capture sharp, vibrant footage and ensure your gear stays safe in wet environments.
Conclusion
Capturing splashy water scenes combines patience with precision, like waiting for the perfect wave and riding it smoothly. By choosing the right frame rate, you can turn chaotic spray into sleek, mesmerizing footage. Remember, clarity matters as much as speed—so avoid mistakes and fine-tune your settings. With a mix of technique and timing, you’ll transform turbulent water into stunning, cinematic moments that leave viewers in awe.