
To fix inflatables without repeat leaks, choose a high-quality patch kit designed for your surface—vinyl, PVC, or rubber— with strong adhesive and durable patches. Proper surface cleaning and preparing before applying guarantees a lasting bond. Carefully follow instructions, press firmly during patching, and allow ample drying time. Avoid common mistakes like skipping cleaning or using incorrect patches. If you want to learn more tips for reliable repairs, keep exploring for expert advice.
Key Takeaways
- Choose a patch kit compatible with your inflatable’s material (vinyl, PVC, rubber) for a secure, long-lasting bond.
- Thoroughly clean and dry the damaged area before applying the patch to ensure maximum adhesive effectiveness.
- Use patches slightly larger than the puncture, and apply adhesive evenly for a smooth, airtight seal.
- Opt for high-quality, durable patches with strong adhesives designed for inflatable surfaces to prevent recurrent leaks.
- For extensive damage or repeated leaks, seek professional repair or replacement to ensure safety and durability.
Why Choosing the Right Patch Kit Matters for Long-Lasting Repairs

Choosing the right patch kit is essential if you want your inflatable to stay repaired for the long run. The key lies in matching the patch to your inflatable’s material, whether it’s vinyl, PVC, or rubber. A compatible patch guarantees a better bond and reduces the chances of future leaks. When you select a patch that suits the inflatable material, you improve patch longevity, meaning your repair lasts longer and remains secure. Using an incompatible patch can lead to peeling, cracking, or even a new leak, wasting your time and effort. Investing in the correct patch kit ensures your repair holds up over time, giving you peace of mind and extending your inflatable’s lifespan. Proper matching is the foundation of a reliable, durable fix.
What Features Make a Patch Kit Reliable and Effective
A reliable patch kit needs strong durability and adhesion to hold up over time and use. It should also be easy to apply and store, so you can fix your inflatable quickly and conveniently. Focusing on these features guarantees your repairs last and stay ready when you need them.
Durability and Adhesion Strength
When it comes to patch kits for inflatables, durability and adhesion strength are essential for ensuring long-lasting repairs. You need a patch that bonds well with your inflatable’s material, so check for good material compatibility. The adhesive strength of the patch is critical—strong enough to withstand pressure, flexing, and water exposure without peeling or failing. A reliable patch kit uses high-quality adhesives formulated to adhere securely to various surfaces like vinyl, PVC, or rubber. Proper adhesion prevents leaks and ensures your repair holds up over time. Additionally, the patch’s material should match or complement your inflatable’s material to maximize durability. When these features are present, you can confidently fix your inflatables, knowing the repair will last through use and weather.
Ease of Application and Storage
Achieving a strong, lasting repair relies not only on the adhesive’s quality but also on how easy the patch kit is to use and store. A user-friendly patch kit offers clear instructions, simple application steps, and reliable patch adhesion, guaranteeing you can fix your inflatables quickly and effectively. Patch kit compatibility is vital—you want a kit designed for your specific inflatable material to ensure proper bonding and durability. Good storage solutions also matter; choose a kit with compact, resealable packaging that keeps adhesives and patches fresh and protected from moisture or dust. This ease of application and convenient storage means you’re more likely to use the kit correctly and keep it ready for future repairs, saving you time and preventing frustration during critical moments.
How to Prepare Your Inflatable Surface Before Patching
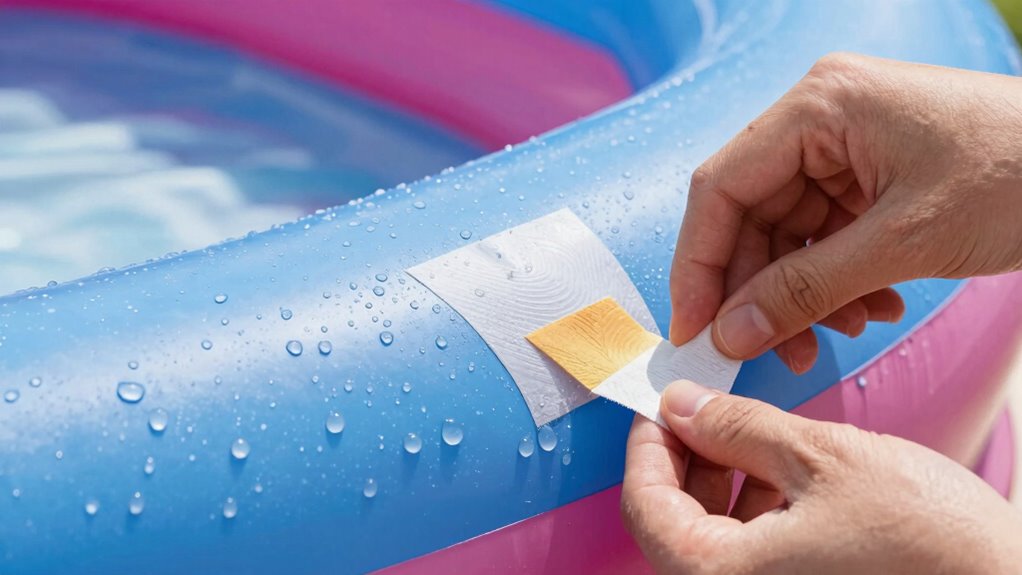
Before you patch your inflatable, make sure to clean its surface thoroughly to remove dirt and debris. Then, dry the area completely to guarantee the patch adheres properly. Taking these steps will help your repair last longer and stay secure.
Clean Inflatable Thoroughly
To guarantee a successful patch, start by thoroughly cleaning the inflatable’s surface. Remove dirt, grease, and debris to assure the patch adheres properly and maintains maximum adhesive strength. You should:
- Wipe the area with a clean cloth soaked in mild soap and water
- Rinse thoroughly to eliminate soap residue
- Dry the surface completely, avoiding any moisture
- Use rubbing alcohol or acetone for stubborn dirt or oils
- Inspect for any remaining dust or grease, re-clean if necessary
A clean surface helps the patch material bond securely, preventing future leaks. Proper cleaning ensures the adhesive can develop its full adhesive strength, making your repair long-lasting and effective. Neglecting this step could compromise the patch and cause leaks to reappear.
Dry Surface Completely
Ensuring the surface is completely dry is essential for a successful patch. Moisture can prevent the patch material from adhering properly, risking future leaks. Use a clean towel or cloth to thoroughly dry the area, paying attention to all edges and creases. Make sure no water, dew, or residual moisture remains, especially in textured or hard-to-reach spots. Proper surface preparation includes checking for remaining dampness, as even small amounts can compromise the patch’s effectiveness. Once dry, inspect the area for dirt or oil, and clean again if necessary. A dry, clean surface creates ideal conditions for the patch material to bond securely, ensuring a long-lasting repair. Taking this extra step saves you from having to redo the patch later.
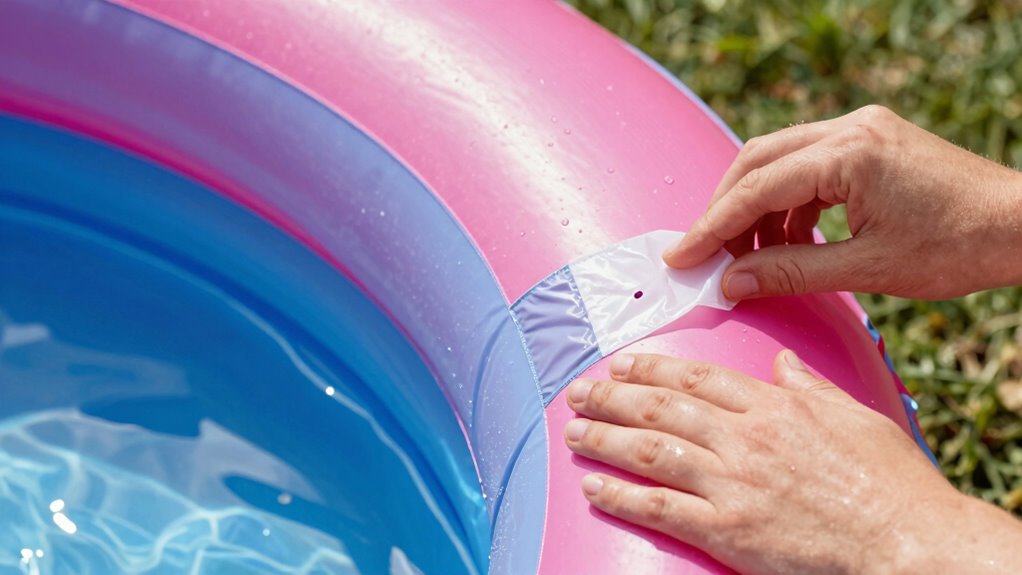
Step-by-Step: How to Apply a Patch for a Lasting Fix

Applying a patch properly is essential for a durable repair on your inflatable. First, choose a patch material that matches your inflatable’s surface and check adhesive compatibility to guarantee a strong bond. Then, follow these steps:
Proper patching ensures a durable, leak-proof repair on your inflatable.
- Clean and dry the area thoroughly, removing dirt and oils.
- Cut the patch slightly larger than the puncture, avoiding sharp edges.
- Apply a thin, even layer of adhesive to both the patch and the damaged area.
- Press firmly, smoothing out air bubbles and wrinkles.
- Hold or clamp the patch in place until the adhesive sets.
Visualize the patch sealing the leak, with smooth edges and a secure bond. This careful process guarantees a long-lasting fix that prevents future leaks.
Common Mistakes When Patching and How to Avoid Them

Many common mistakes can undermine your patching efforts and lead to recurring leaks. Patching mistakes often stem from repair misconceptions, like believing that a quick fix is enough or that surface prep isn’t essential. Skipping proper cleaning or not thoroughly drying the area before applying the patch weakens the bond and causes leaks to reappear. Another mistake is not pressing down firmly enough, which prevents the adhesive from fully adhering. Using the wrong patch size or applying the patch incorrectly also hampers durability. To avoid these errors, follow instructions carefully, verify the surface is clean and dry, and apply firm pressure during installation. Addressing these repair misconceptions will help you achieve a lasting, leak-free fix on your inflatables.
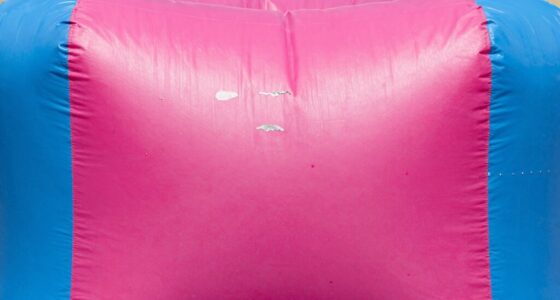
Troubleshooting Persistent Leaks After Patching

Even after patching, persistent leaks can be frustrating, but they often result from overlooked issues or improper repair techniques. To troubleshoot, check if the patch adhered well by inspecting the edges for bubbles or lifting. Sometimes, inadequate patch longevity stems from poor surface preparation or weak adhesive properties. You might notice:
Persistent leaks after patching often indicate poor adhesion or surface prep issues.
- A patch peeling at the corners like fragile petals
- Tiny air bubbles trapped beneath the patch
- Cracks developing around the edges
- The patch feeling loose or soft to touch
- The leak reappearing after a few uses
Ensure the patch is fully pressed down and the adhesive properties have been maximized by cleaning and drying the surface thoroughly. Reapplying with proper surface prep can considerably improve patch longevity and seal those stubborn leaks.
Tips to Maintain Your Inflatable and Prevent Future Leaks
To keep your inflatable in top condition and prevent future leaks, regular maintenance is essential. Inspect your inflatable decoration regularly for small tears or weak spots, repairing them promptly with a quality patch kit. After each use, clean it thoroughly to remove dirt and debris that could cause damage over time. When not in use, store your inflatable properly—deflate it completely and fold it neatly to avoid unnecessary stress on seams. For seasonal storage, ensure it’s completely dry to prevent mold and mildew. Store it in a cool, dry place away from direct sunlight and sharp objects. Proper care extends the life of your inflatable, reducing the risk of leaks and keeping it looking vibrant and functional for future parties and celebrations.
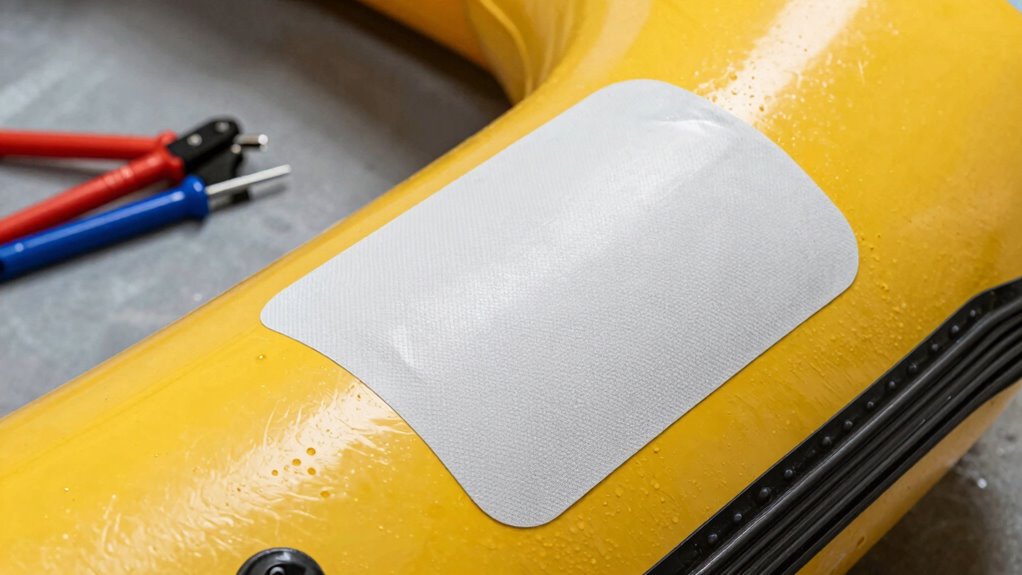
The Best Inflatable Patch Kits for Air Mattresses, Pool Toys, and Bounce Houses

Finding the right inflatable patch kit can make all the difference when repairing air mattresses, pool toys, or bounce houses. Look for kits with strong adhesive and compatible patch materials suited for your inflatable’s material. The best kits feature ingredients like rubber or vinyl patches that bond seamlessly without causing damage. When choosing, consider these key features:
- Compatibility with PVC, vinyl, or rubber surfaces
- Clear instructions for quick application
- Durable, flexible patches that move with your inflatable
- Non-toxic, skin-safe ingredients
- Easy-to-use applicators for precise repairs
A quality patch kit’s components ensure a secure seal, preventing future leaks. By matching inflatable material compatibility with effective patch kit ingredients, you’ll restore your inflatables quickly and reliably, avoiding repeated repairs.
When to Seek Professional Repairs or Consider Replacing Your Inflatable

While many minor punctures can be easily patched with the right repair kit, some damage requires professional inspection or replacement. If your inflatable has extensive tears, multiple leaks, or the material is worn out, a simple patch might not suffice. Consider replacement if repair costs outweigh the value or safety of the item.
Here’s a quick guide:
| Situation | Action |
|---|---|
| Multiple large punctures | Seek professional inspection or replace |
| Worn or thin material | Consider replacement |
| Repeated leaks after patching | Professional inspection recommended |
| Structural damage (e.g., seams) | Replacement or professional repair |
Knowing when to opt for professional repairs or replacement ensures safety and longevity of your inflatable.
Frequently Asked Questions
Can Patch Kits Be Used on All Types of Inflatables?
Yes, patch kits can be used on all types of inflatables, but you need to take into account material compatibility and adhesive strength. Make sure the patch kit’s material matches your inflatable’s material, like vinyl or rubber, for a secure fix. Also, choose a patch with strong adhesive to prevent repeat leaks. Proper surface preparation and following the instructions ensure the patch holds, no matter the inflatable type.
How Long Does a Typical Patch Repair Last?
Most patch repairs last between 1 to 3 years, depending on patch quality and usage. Did you know that a well-applied patch can maintain its repair durability for up to five years with proper care? Your patch’s longevity hinges on surface prep and adhesive strength. To maximize patch durability, make certain the area is clean and dry, and follow the manufacturer’s instructions carefully. With proper maintenance, your repair can stand the test of time.
Are There Eco-Friendly Patch Kit Options Available?
Yes, eco-friendly patch kit options are available. You can choose kits that use biodegradable adhesives, which break down naturally and reduce environmental impact. Additionally, plant-based patches are a great alternative, made from sustainable materials that don’t harm the planet. These options work effectively to fix inflatables while ensuring you’re making a greener choice, helping you enjoy repairs without compromising your eco-conscious values.
Can Patches Be Applied Underwater or in Wet Conditions?
Yes, you can perform underwater patching or wet condition repair on inflatables. Use a patch kit specifically designed for wet environments, which adheres well even when wet. Make sure to thoroughly clean and dry the area as much as possible before applying the patch. This guarantees a secure seal and prevents future leaks. Always follow the manufacturer’s instructions for best results in wet condition repair.
What Safety Precautions Should I Take During Patching?
Your safety is your superpower during patching! Always wear safety gear like gloves and goggles to protect against fumes and sharp edges. Make certain proper ventilation to avoid inhaling harmful vapors, especially if you’re working indoors. Keep a fire extinguisher nearby in case of accidents. Remember, taking these precautions keeps you safe, so you can confidently repair your inflatable without worry, knowing you’re protected every step of the way.
Conclusion
Choosing the right patch kit is your secret weapon against stubborn leaks, turning a soggy mess into a fortress of fun. With proper prep, careful application, and a bit of patience, you can patch up your inflatables to last like a trusty old friend. Remember, even the best patch is only as good as your attention to detail—think of it as sewing the seeds for many more adventures without the leak lurking behind.