To effectively use swim resistance bands, you can mount them on pool walls, floors, or poolside using suction cups, hooks, or screw-in anchors for stability. Portable options include freestanding frames or securing bands to backyard structures. DIY setups involve attaching weather-resistant hooks to sturdy points. Combining these mounting techniques with tailored workout plans can boost your strength and endurance. Keep exploring ways to customize your resistance training for maximum results.
Key Takeaways
- Use sturdy, weather-resistant hooks or suction cups to securely attach resistance bands to pool walls or decks.
- Consider adjustable mounting plates or anchors for versatile positioning and consistent tension during swim workouts.
- Incorporate portable, freestanding frames with adjustable features for flexible resistance training around the pool area.
- Ensure all anchors and hooks are properly secured to prevent slipping or snapping during exercise.
- Design workout plans that combine resistance band exercises with swimming to improve strength, endurance, and overall aquatic fitness.
Understanding Different Mounting Techniques for Swim Resistance Bands
To get the most effective workout with swim resistance bands, it’s important to understand the various mounting techniques available. You can attach resistance bands to sturdy objects around your pool, like posts or rails, to create a secure anchor point. Using a door anchor or specialized clip allows you to set up resistance training even if your pool lacks built-in fixtures. Guarantee whatever you attach the bands to is stable and can withstand the force of your movements. Proper mounting prevents slipping or snapping, which could cause injury. Adjust the tension by changing the distance between the anchor and your body, giving you control over resistance levels. Mastering these mounting options helps you customize your workout and maximize resistance training efficiency. Additionally, selecting the right self-watering planters can help maintain healthy plants that thrive in your poolside environment, enhancing your workout space. Incorporating space-saving solutions can further optimize your area for both exercise and relaxation, especially when considering resistance band setup to ensure safety and effectiveness. Understanding personalized care in your setup can also improve overall workout safety and comfort, and paying attention to the family dynamics of your workout space can foster a more motivating environment.
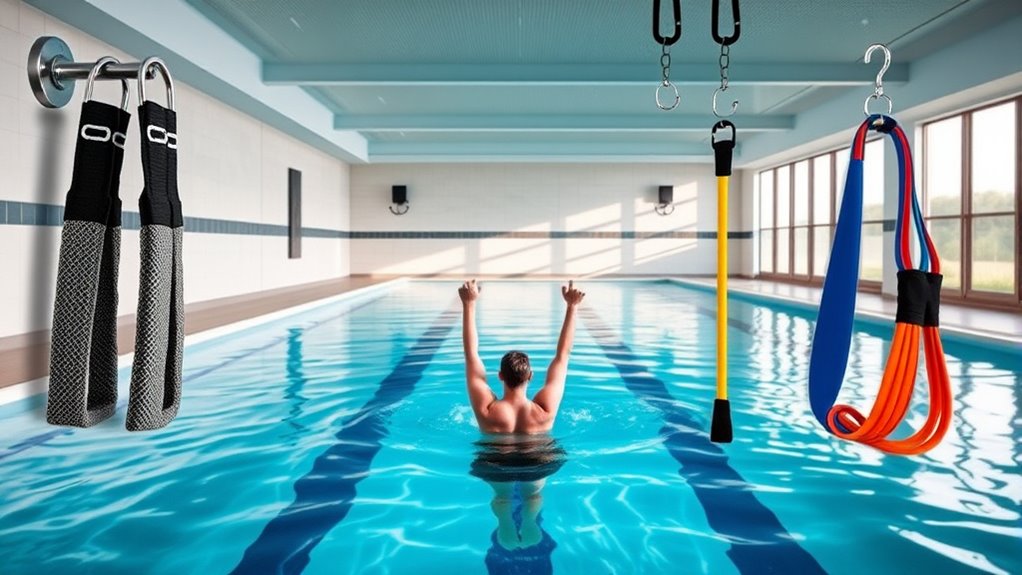
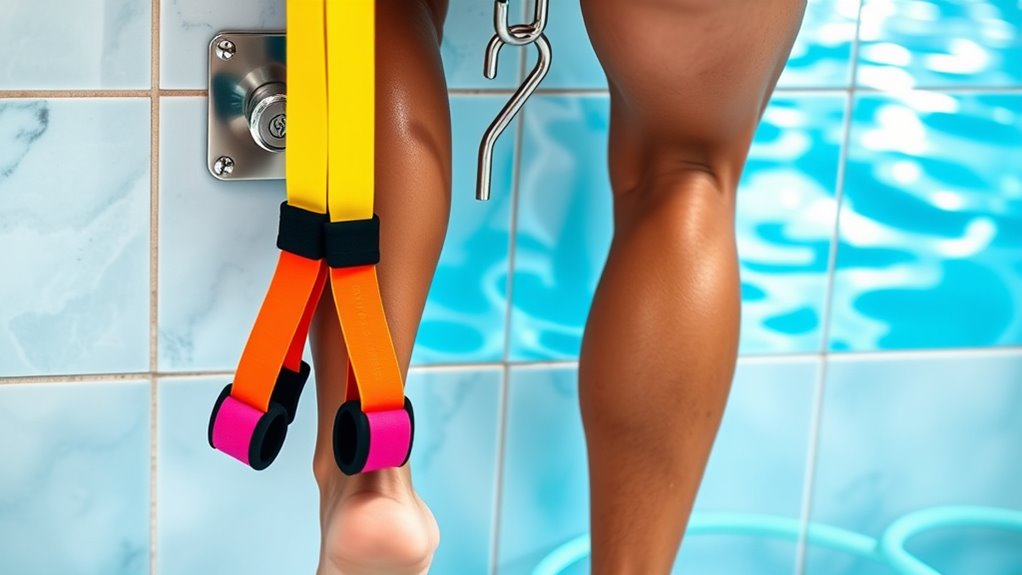
Using Anchors on Pool Walls and Floors
Using anchors on pool walls and floors offers a stable and convenient way to set up your swim resistance bands. You can easily attach your bands to secure points, creating a reliable resistance workout. Imagine yourself stepping into the pool, finding the perfect spot on the wall or floor, and fastening your anchor firmly. Visualize these key points:
- A sturdy suction cup or screw-in anchor firmly attached to the wall.
- A durable hook or clip holding your resistance band securely.
- The band stretched taut across the pool, ready for movement.
- Your body moving smoothly against resistance, with the anchor holding steady.
- Properly securing your anchors ensures industry-standard safety, providing peace of mind during your workout. Additionally, choosing the right anchoring system can enhance workout effectiveness by maintaining consistent tension throughout your exercise session. Remember that secure attachment points are essential for safety and optimal performance. Using anchors that are compatible with Gold IRA rollovers can further ensure your equipment remains reliable over time. Selecting durable anchoring options can also extend the lifespan of your setup and prevent accidents. This setup provides consistent tension for effective training, minimizing movement issues and maximizing safety. Anchors give you a reliable foundation to focus on your workout without distractions.
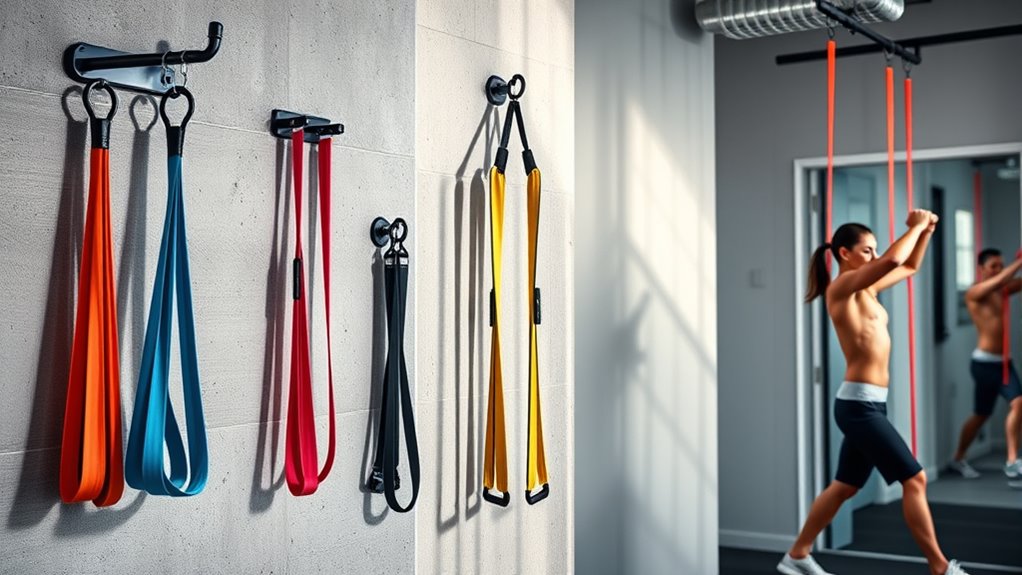
Portable and Freestanding Mounting Solutions
Portable and freestanding mounting solutions offer versatile setup options that fit your space and training needs. They’re designed for easy portability, so you can move your equipment effortlessly. Plus, stable free-standing frames guarantee your resistance bands stay secure during every workout. Incorporating adventure-ready features can enhance your training experience, making it easier to stay motivated on the go. Additionally, dynamic communication exercises can help keep your motivation high and ensure proper use of your equipment during workouts. These features can also support safety precautions, reducing the risk of injury while exercising. Understanding backyard greenhouses can inspire innovative ways to create a dedicated workout space in your outdoor area.
Versatile Setup Options
Whether you’re setting up your swim resistance bands at home or on the go, versatile mounting options make it easy to customize your workout space. Portable and freestanding solutions give you flexibility without permanent fixtures. Imagine anchoring your bands to:
- A sturdy door frame using specialized hooks that won’t damage surfaces
- A weighted base stand that stays put on your floor during intense workouts
- A compact, portable frame you can carry in your gym bag
- A wall-mounted bracket that’s easy to install and remove as needed
These options let you create a safe, effective workout environment anywhere. With versatile setups, you can adjust your training to fit your space and goals effortlessly. Additionally, choosing appropriate emotional support strategies can help you stay motivated and resilient during your fitness journey. Incorporating adaptive workout setups can further enhance your training experience by accommodating different environments and needs. For example, selecting a setup that aligns with your privacy and boundaries helps maintain focus and comfort while exercising. Leveraging multi-functional equipment can also maximize limited space and resources, making your workouts more efficient and enjoyable. Moreover, understanding proper mounting techniques ensures safety and durability of your setup over time.
Easy Portability Design
To maximize convenience, many swim resistance bands are designed with portability and freestanding options that allow you to set up your workout anywhere. These designs typically feature lightweight materials and compact structures, making them easy to carry and store. With quick assembly, you can move your setup from the backyard to the hotel room or even indoors without hassle. Some models include built-in bases or weighted support to guarantee stability without the need for complex mounting. This flexibility is perfect for maintaining your routine on the go or in limited space. The focus on portability doesn’t sacrifice durability, so you can enjoy effective resistance training wherever you choose. Additionally, campground facilities often provide open spaces suitable for setting up your workout gear, making outdoor exercise more accessible. Considering durable materials in design ensures your resistance bands withstand frequent travel and outdoor conditions, adding to their versatility. Incorporating on-the-go workout solutions that are designed for easy setup further enhances your ability to stay active regardless of location. Overall, these user-friendly designs make your swim resistance workouts more accessible and convenient.
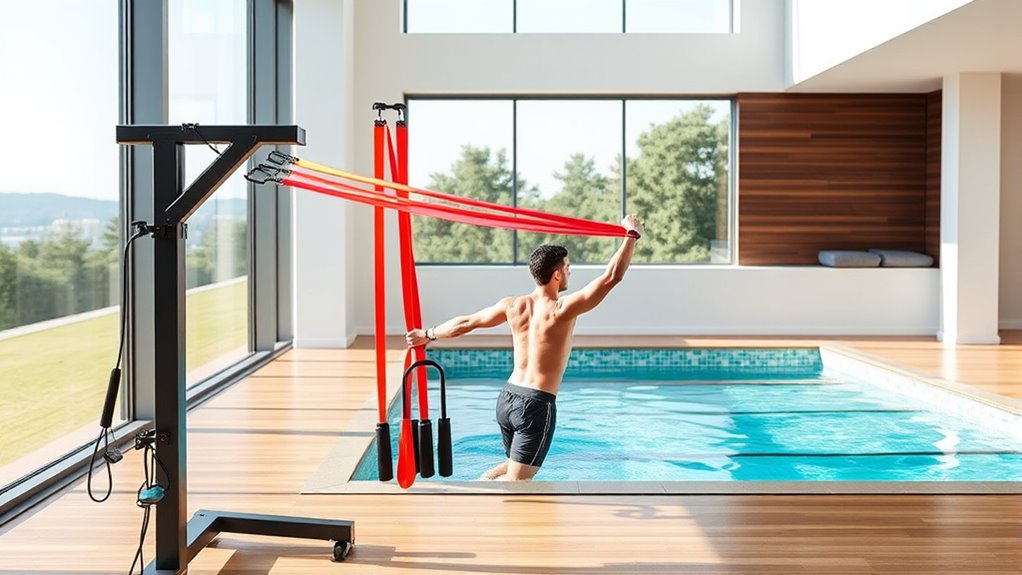
Stable Free-Standing Frames
Stable free-standing frames are essential for ensuring your swim resistance workouts remain secure and effective, especially when you don’t have access to permanent mounting options. These frames provide a sturdy base that keeps your resistance bands in place, allowing you to focus solely on your training. Imagine a robust frame standing tall in your pool, ready to support your intensity. Visualize these features:
- A heavy-duty, rust-resistant base that won’t tip over
- Adjustable height settings for personalized workouts
- Secure clamps that hold bands firmly without slipping
- Compact, foldable design for easy storage and transport
- Incorporating rust-resistant materials ensures durability and longevity in a moist environment. Additionally, these frames often feature easy assembly, making setup quick and hassle-free for users of all skill levels. Proper stability is critical to prevent accidents and ensure consistent training sessions.
With a free-standing frame, you gain flexibility and stability, making every swim resistance session safe and productive. It’s an ideal solution for home pools, gyms, or portable setups.
DIY Mounting Options for Customized Resistance Training

You can customize your resistance training with simple DIY mounting options. Try wall mount techniques or door anchors to create a versatile workout space. Additionally, poolside setups can enhance your swim resistance routines with minimal effort.
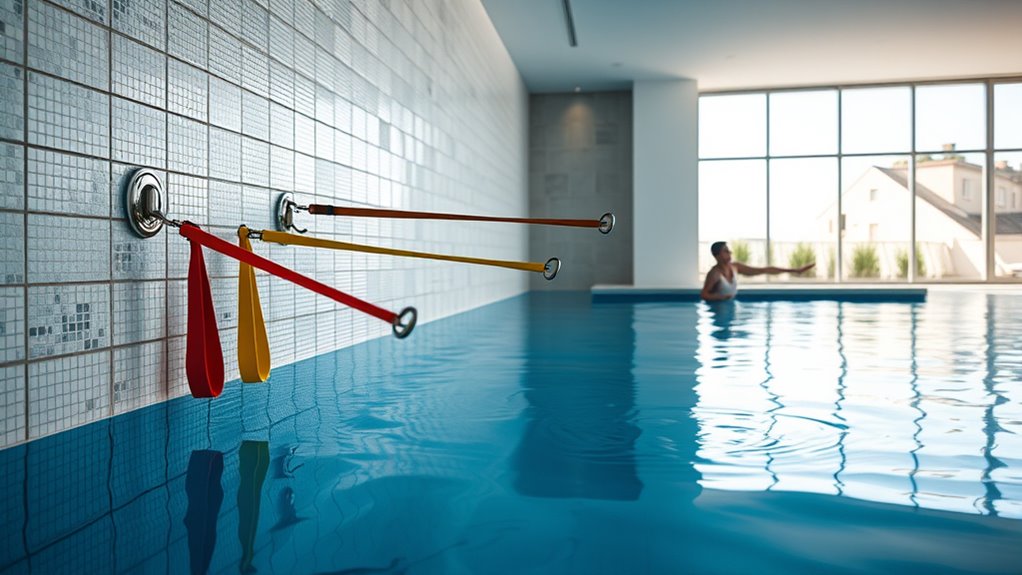
Wall Mount Techniques
Creating a secure and accessible wall mount for your swim resistance bands allows for tailored workouts that suit your space and training needs. To do this effectively, consider these techniques:
- Attach sturdy hooks or anchors into wall studs using a drill and appropriate fasteners.
- Use heavy-duty brackets or mounting plates to distribute tension evenly.
- Install adjustable resistance band anchors for versatile positioning during exercises.
- Ensure the mount height allows for full range of motion without obstruction.
Visualize your setup: bands anchored firmly at different heights, ready to assist your stretches, pulls, and resistance drills. A well-mounted system keeps your bands stable, safe, and easy to access, enabling consistent, effective workouts tailored to your space.
Door Anchor Ideas
Door anchors offer a versatile and convenient solution for mounting swim resistance bands, especially when dedicated wall space isn’t available. They allow you to create a secure point for resistance training without needing permanent fixtures. You can use a sturdy towel, a strong cord, or a specialized door anchor device to attach your bands. Make sure the door is solid and closes securely to prevent slipping. For added safety, avoid doors with glass panels or loose hinges. Here are some ideas:
| Material | Method | Benefits |
|---|---|---|
| Towel | Loop around door handle | Easy, no damage |
| Resistance band anchor | Use a door-specific device | Secure, adjustable |
| Rope or cord | Tie to door latch or hinge | Versatile, inexpensive |
| Heavy-duty hook | Attach to door frame | Long-term solution |
| Door jamb shield | Reinforce with padding | Protects door and band |
Poolside Setup Tips
Setting up resistance bands poolside offers a flexible alternative when indoor mounting options are limited. To create an effective DIY setup, consider these tips:
- Secure a sturdy anchor point, like a metal pole or sturdy tree branch, ensuring it can withstand tension.
- Use weather-resistant hooks or carabiners to attach your resistance bands safely.
- Tie or clip the bands to the anchor, keeping slack minimal for consistent resistance.
- Choose a flat, non-slip surface nearby to perform exercises without slipping or losing footing.
Designing Effective Workout Routines With Various Mounting Setups
To maximize the effectiveness of your swim resistance band workouts, you need to carefully design routines that incorporate various mounting setups. Start by identifying different anchor points, such as pool walls, sturdy posts, or specialized mounts. Vary your mounting locations to target different muscle groups and prevent workout boredom. For example, attach the band high on the wall for resistance during pulls or lower for leg exercises. Mix up your angles and directions to enhance muscle engagement and improve overall strength. Incorporate dynamic movements like rotations or quick changes in direction to challenge your stability. Planning your routine around multiple setups guarantees balanced training, keeps your workouts engaging, and helps you develop functional strength in the water.
Safety Tips and Best Practices for Resistance Band Training
Ensuring safety during resistance band training is essential to prevent injuries and maximize your workout benefits. First, always inspect your bands for cracks or tears before use—damaged bands can snap unexpectedly. Second, maintain a firm grip and control your movements to avoid sudden releases that could cause injury. Third, anchor your bands securely to stable mounting points to prevent slips or falls. Fourth, start with lighter resistance and gradually increase intensity to avoid overstressing muscles or joints. Keep your surroundings clear of obstacles, and wear appropriate footwear for stability. Staying attentive to your form and listening to your body helps prevent strain. Following these safety tips guarantees a safe, effective resistance band workout every time.
Incorporating Resistance Bands Into Your Regular Swimming Regimen
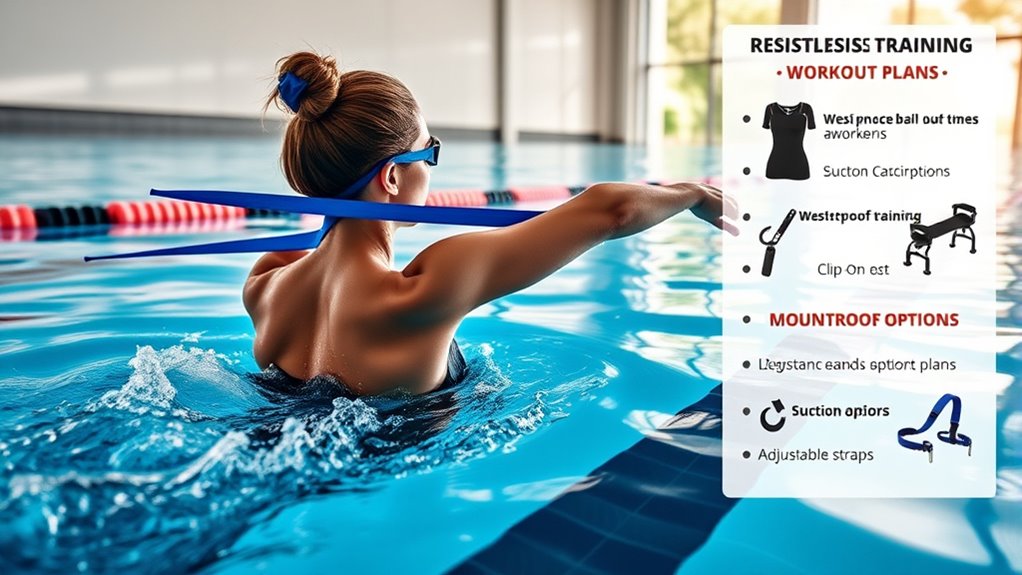
Incorporating resistance bands into your swimming routine can boost your strength, flexibility, and endurance, making your workouts more effective. Start by adding band exercises before or after your swim sessions to target key muscle groups. For example, use bands for shoulder, back, and core exercises that mimic swimming movements, helping to improve technique and power. You can also attach bands to your pull buoy or resistance mounts during pool work to create additional resistance. Incorporate short, focused sets into your regular workout, gradually increasing intensity as your strength improves. Be consistent and vary your routines to prevent plateaus. Remember, integrating bands should complement your swimming, not replace it, ensuring balanced development and continued progress.
Frequently Asked Questions
Can Resistance Bands Be Used for Aquatic Rehabilitation Exercises?
Yes, resistance bands can definitely be used for aquatic rehabilitation exercises. They provide gentle, controlled resistance that helps you strengthen muscles without putting too much strain on your joints. You can perform various movements like shoulder presses, leg lifts, and arm curls in the water. Just make certain the bands are waterproof and designed for aquatic use to prevent damage and ensure safety. This makes them a versatile tool for your rehab routine.
What Are the Best Resistance Band Types for Swimming Workouts?
Imagine opening a treasure chest of strength—resistance bands are your key. For swimming workouts, choose loop or tube bands with handles for versatility and grip. They resist your movements, turning simple strokes into powerful drills. Opt for water-resistant, latex, or rubber materials to withstand immersion. These bands mimic aquatic resistance, helping you build endurance and muscle in the pool. Your swim gains become unstoppable with the right resistance tools.
How Often Should I Replace or Upgrade My Swim Resistance Bands?
You should replace or upgrade your swim resistance bands every 6 to 12 months, depending on usage and wear. If you notice signs of fraying, cracking, or loss of elasticity, it’s time to get new ones. Regularly inspect your bands to guarantee safety and effectiveness. Upgrading periodically keeps your workouts challenging and prevents injuries caused by weakened or damaged bands. Proper maintenance extends their lifespan, so stay attentive to their condition.
Are There Specific Resistance Band Exercises for Different Swimming Skill Levels?
When it comes to resistance band exercises for different swimming skill levels, the proof is in the pudding. You’ll want to tailor your workouts to match your experience. Beginners can focus on basic arm and leg movements, while advanced swimmers can incorporate more complex routines like plyometrics and explosive pulls. Adjust resistance levels accordingly, and remember, practice makes perfect—building strength and technique go hand in hand.
Can Resistance Bands Improve Swimming Performance and Stamina?
Yes, resistance bands can improve your swimming performance and stamina. They help strengthen key muscles used in swimming, like shoulders, arms, and core, leading to better power and endurance. By incorporating band exercises into your training, you challenge your muscles in different ways, which boosts stamina. Consistent use can make your strokes more efficient, helping you swim longer and faster with less fatigue.
Conclusion
Think of your swim resistance band setup as a well-tuned orchestra. When you choose the right mounting options and design effective routines, everything comes together harmoniously, boosting your strength and stamina. Safety keeps the melody smooth, while mixing different setups adds variety to your training. With the right tools and plans in place, your swimming workouts become a symphony of progress—powerful, balanced, and inspired. Keep experimenting, and enjoy the rhythm of your fitness journey.