
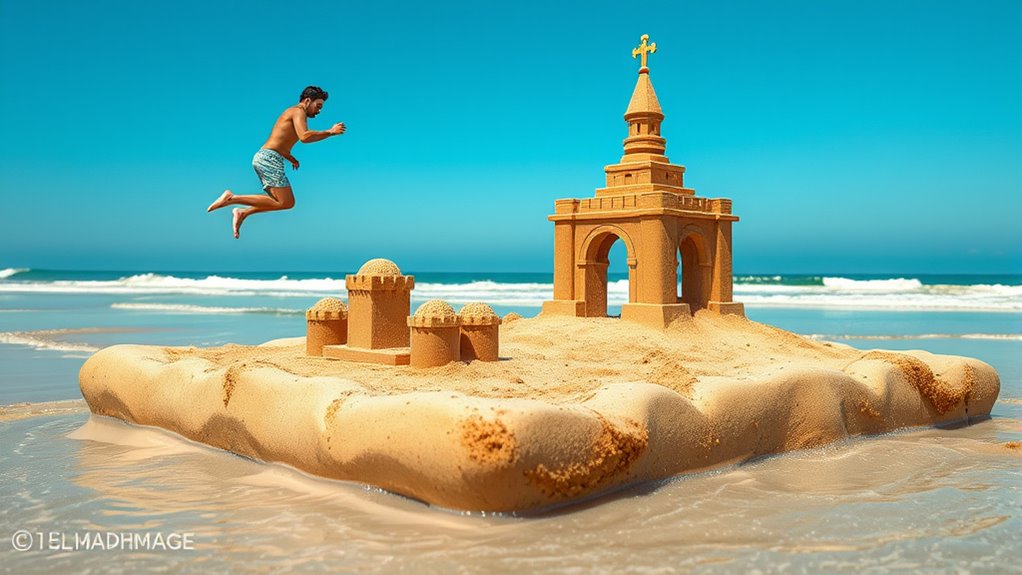
To sculpt sand castles from a floating position, focus on maintaining water stability by anchoring your raft and choosing calm waters. Keep the sand damp—moist but not muddy—for better adhesion and stronger structures. Use molds carefully, pressing firmly and lifting gently to preserve your work. Build in sections, stacking layers for stability, and handle molds steadily. For more tips on mastering floating sand sculpting, continue exploring effective techniques and water management strategies.
Key Takeaways
- Ensure water stability by anchoring the raft and selecting calm, sheltered areas.
- Use damp, moist sand to improve adhesion and prevent collapse during sculpting.
- Fill molds firmly with damp sand, then gently lift or peel to preserve shape.
- Build in sections, pressing each layer firmly for increased stability and durability.
- Minimize movement and splashes, and practice steady handling to maintain sculpted details.
Creating sand castles while floating might sound impossible, but with the right techniques, you can craft impressive sculptures even from a boat or raft. The key lies in understanding water stability and mastering mold techniques that help you shape and hold your sand structures. When you’re on a floating platform, maintaining water stability is your first priority. You want to prevent your raft or boat from rocking excessively, which can ruin your delicate work. To achieve this, choose a calm, sheltered area with minimal waves, and if possible, anchor your craft securely. A stable base makes it easier to focus on sculpting without battling constant movement.
Once water stability is addressed, your next focus is mold techniques. These are essential because floating sand sculptures require a controlled method of shaping the sand that can withstand movement. Start with damp sand—this is imperative because moist sand compacts better and sticks together more effectively. When you’re ready to sculpt, use molds or simple tools like cups, spatulas, or even your hands to form the basic shapes. Filling molds with damp sand and pressing them firmly helps create strong, defined structures that are less likely to collapse when you lift them from the mold. To guarantee your sand retains its shape, avoid over-wetting; the sand should be moist but not muddy.
Another mold technique you can employ involves layering. Build your sculpture in sections, pressing each layer firmly into place before adding another. This stacking method creates stability within your sculpture, making it more resistant to shifting caused by water movement. When lifting molds off the sand, do so gently and steadily to preserve the shape. If the mold is flexible, you can carefully peel it away, but if it’s rigid, a gentle tap or slide often works best.
Additionally, understanding the water’s surface tension can help you manage how the sand adheres and maintains its form, especially in a floating environment. When working from a floating position, it’s also helpful to keep tools and molds close at hand to minimize movement. You might even consider attaching a small tray or container to your raft to hold your sculpting supplies. This setup ensures you can work efficiently without unnecessary shifts or splashes that could disturb your progress. Remember, patience and steady hands are essential. The combination of water stability and effective mold techniques allows you to create detailed, sturdy sand castles even while floating on water. With practice, you’ll develop a feel for the right moisture levels and handling methods, making floating sand sculpting a rewarding and achievable art form.
Frequently Asked Questions
What Types of Sand Are Best for Floating Sculptures?
You should use fine, damp sand for floating sculptures because it maintains shape better and is easier to work with. Look for types of sand with rounded grains, like river or playground sand, as they create smoother, more stable structures. Avoid coarse or dry sands, which won’t support your floating sculpture well. Using the right sand guarantees your floating sculpture stays intact longer and looks more polished.
How Do I Ensure Safety While Sculpting on Water?
To stay safe while sculpting on water, always prioritize water safety by wearing a life jacket or floating equipment. Keep an eye on weather conditions and avoid rough waters. Work close to the shore where help is accessible if needed. Stay alert, avoid distractions, and never sculpt alone. Following these precautions guarantees you enjoy your floating sculpture experience safely and confidently.
Can Children Safely Try Floating Sand Castle Sculpting?
Children can safely try floating sand castle sculpting if you follow proper supervision guidelines and prioritize water safety. Always supervise closely, keep them within arm’s reach, and make sure they wear life jackets. Choose calm, shallow water areas and avoid strong currents. Teach kids about water safety, and stay alert to their needs. With these precautions, they can enjoy the fun of floating sculpting while staying safe.
What Tools Are Essential for Floating Sand Sculpture?
Ever wondered what tools make floating sand sculpture easier? You’ll need waterproof gloves to keep your hands dry and protected, and floating mold kits to shape the sand precisely. These tools help you sculpt smoothly while staying afloat. Do you want to create intricate designs that float effortlessly? With these essentials, you can elevate your floating sand sculpture skills and enjoy a fun, creative experience on the water.
How Long Can a Floating Sand Sculpture Last?
Your floating sand sculpture can last from a few hours up to a day, depending on waterproofing techniques like using a clay core or water-resistant spray. Keep in mind, environmental impacts such as wind, rain, and waves can shorten its lifespan. To extend its durability, regularly reinforce it with water and protective coatings, ensuring it withstands changing conditions as long as possible.
Conclusion
Now that you know how to sculpt sand castles from a floating position, you’ll impress everyone with your unique skills. Did you know that over 50% of professional sandcastle builders started as casual hobbyists? With practice, you’ll master this fun technique and create stunning, gravity-defying designs. So, keep experimenting, stay patient, and let your creativity soar above the shoreline. Before long, you’ll be turning heads with floating masterpieces everyone will admire.